Easy Beginner Woodworking Projects That Look Great

So, you’ve decided to dip your toes into the sawdust-sprinkled world of woodworking. Welcome! You’re about to embark on a journey that’s part creative outlet, part practical skill, and a whole lot of making cool stuff. Don’t worry about starting with complicated projects; instead, look for easy beginner woodworking projects that look great.
Getting started in any new hobby can feel like trying to assemble furniture without the instructions—confusing, a bit frustrating, and likely to end with extra screws you don't know what to do with. The key is to start with projects that are forgiving for novices yet yield something genuinely useful and aesthetically pleasing.
We’ll walk you through three fantastic beginner woodworking projects that are simple to execute but deliver impressive results. These projects require minimal tools and materials, helping you build your confidence and skills without having to create a whole new workshop.
Getting Started: Tools and Lumber
Before we dive into the projects, let’s talk shop. You don't need a warehouse full of high-tech machinery to get started. In fact, you can accomplish a surprising amount with just a few essentials.
Your Starter Toolkit
Think of these as your woodworking avengers—each with its own superpower.
Choosing Your Wood
Walking into a lumber yard can feel overwhelming, like being at a party where you don't know anyone. For beginners, stick with something easy to work with. Pine is a fantastic choice—it's inexpensive, widely available, and relatively soft, making it easy to cut and shape. Poplar is another great option that's a bit harder than pine and takes paint beautifully.
Avoid hardwoods like oak or maple for your first few projects. They’re gorgeous, but they’re also less forgiving and can feel like you’re trying to saw through a block of granite.
3 Easy Projects for Woodworking Newbies
Ready to make some sawdust? Here are three projects that are perfect for building your skills and your home decor.
1. The Classic Wooden Crate
A wooden crate is the Swiss Army knife of home organization. Use it to store vinyl records, hold blankets, or use it as a rustic planter. It’s a simple project that teaches you the fundamentals of measuring, cutting, and assembly.
What you'll learn: Basic box construction, making repeatable cuts, and simple joinery.
How to make it:
- Cut Your Pieces: You'll need five main pieces for the bottom and four sides. A simple plan would involve cutting boards of the same width for all sides. For example, use 1×6-inch pine boards. Cut one for the bottom and four for the sides.
- Add Slats (Optional): For a more traditional crate look, cut thinner boards (like 1x3s) to create slatted sides.
- Assemble: Apply wood glue to the edges and use clamps to hold the sides together while you fasten them with nails or screws. Attach the bottom last.
- Finish: Sand everything smooth, paying extra attention to the corners. You can leave it natural, stain it for a vintage feel, or paint it a color that pops.
2. A Simple Floating Shelf
Floating shelves are modern, minimalist, and surprisingly sturdy. This project will introduce you to the magic of hidden hardware and give you a sleek spot to display your favorite books or plants. They look complex, but the secret is in the mounting.
What you'll learn: Accurate drilling, basic finishing, and how to create a clean, modern look.
How to make it:
- Choose Your Wood: A solid piece of 2×6 or 2×8 pine or poplar works wonderfully. Cut it to your desired length.
- Sand It Down: Give the board a thorough sanding, starting with a medium-grit paper and finishing with a fine-grit one for a super smooth surface.
- Finish First: Apply your stain or paint before you mount it. It’s much easier this way. Several thin coats of polyurethane will give it a durable, professional sheen.
- Mounting: The easiest method for beginners is to use floating shelf brackets, which you can buy online or at a hardware store. These are long metal rods that screw into the wall. Drill corresponding holes into the back edge of your shelf, slide it onto the rods, and voilà! A shelf that appears to defy gravity.
3. A Picture Frame That Fits Perfectly
Custom framing can be expensive, but making your own is a breeze once you know the secret: a miter box. This project allows you to frame any piece of art, photo, or awkward-sized poster you own.
What you'll learn: Cutting perfect 45-degree miter joints.
How to make it:
- Get a Miter Box: A simple plastic miter box and saw set is an inexpensive tool that guarantees perfect 45-degree angles.
- Cut the Sides: Measure the dimensions of your artwork. Using your miter box, cut four pieces of wood (decorative molding works great for this) with opposing 45-degree angles at each end. The inside edge of the frame pieces should match your artwork's dimensions.
- Join the Corners: Apply wood glue to the mitered corners. Use a band clamp or corner clamps to hold them together tightly as the glue dries. For extra strength, you can add small finishing nails.
- Add a Backing: Cut a thin piece of plywood or backing board to fit inside the frame. Use glazier's points or small nails to hold it, your art, and a piece of glass (or plexiglass) in place.
- Finish: Paint or stain your frame to match your decor.
Your Next Steps in Woodworking
Congratulations, you’ve officially moved from woodworking-curious to woodworking-capable! These beginner woodworking projects are more than just a way to fill your home with handmade goods; they are the building blocks of a rewarding and lifelong hobby. Each cut, joint, and finish is a lesson that will carry you to more complex and ambitious creations.
Don't be afraid to make mistakes—every woodworker has a scrap pile of "learning experiences." The most important tool you can have is patience. So, pick a project that excites you, put on some safety glasses, and start building.
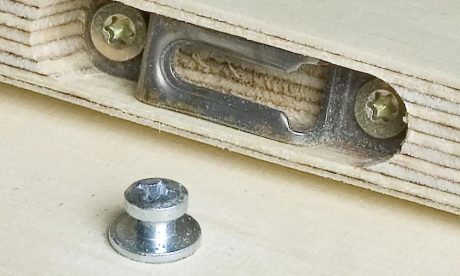
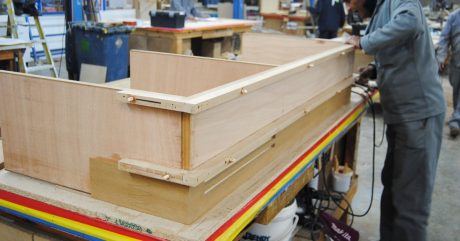
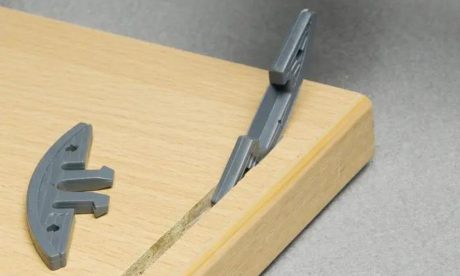
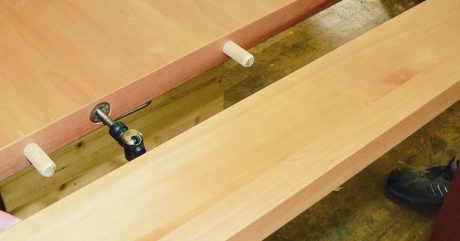
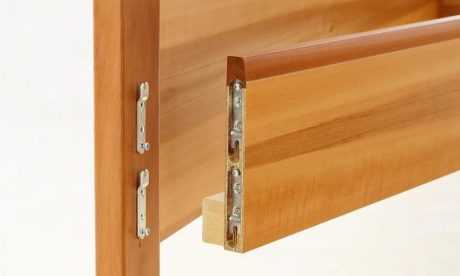
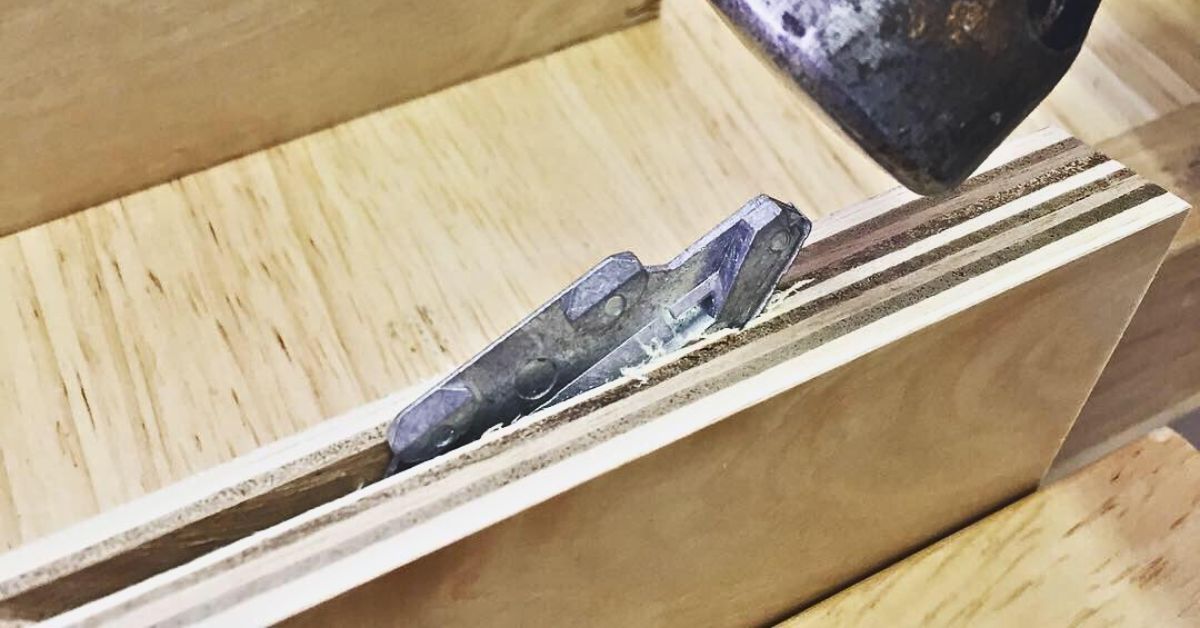
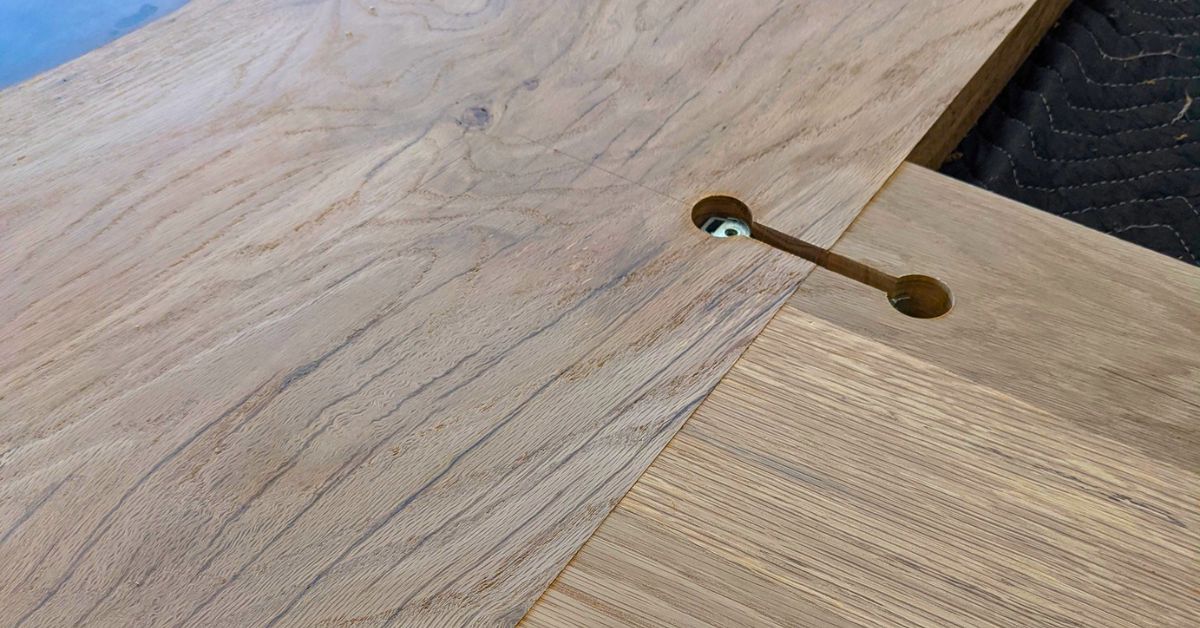
Looking for wood framing connectors to make your project a bit easier? Knapp Connections offers a variety of options to strengthen your new creation. Our systems are trusted for their reliability, speed, and precision on any project, so don’t wait. Browse our catalog to find additions to your project.