CHAMP Biscuit Connector


$12.99
Product Details
-
Product Line
–
CHAMP
-
Unit
–
Pair
-
Material
–
Plastic
-
Pack Size
–
10, 25, 50, 100, 250, 1000
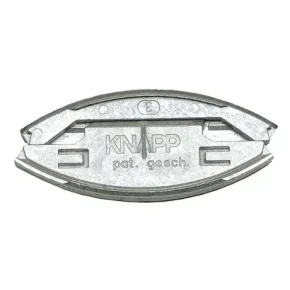
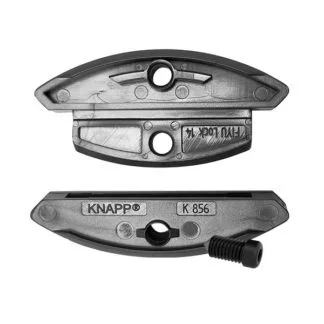
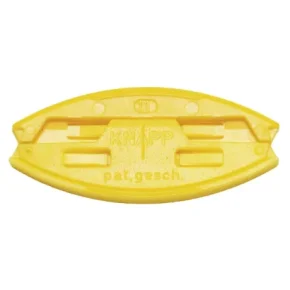
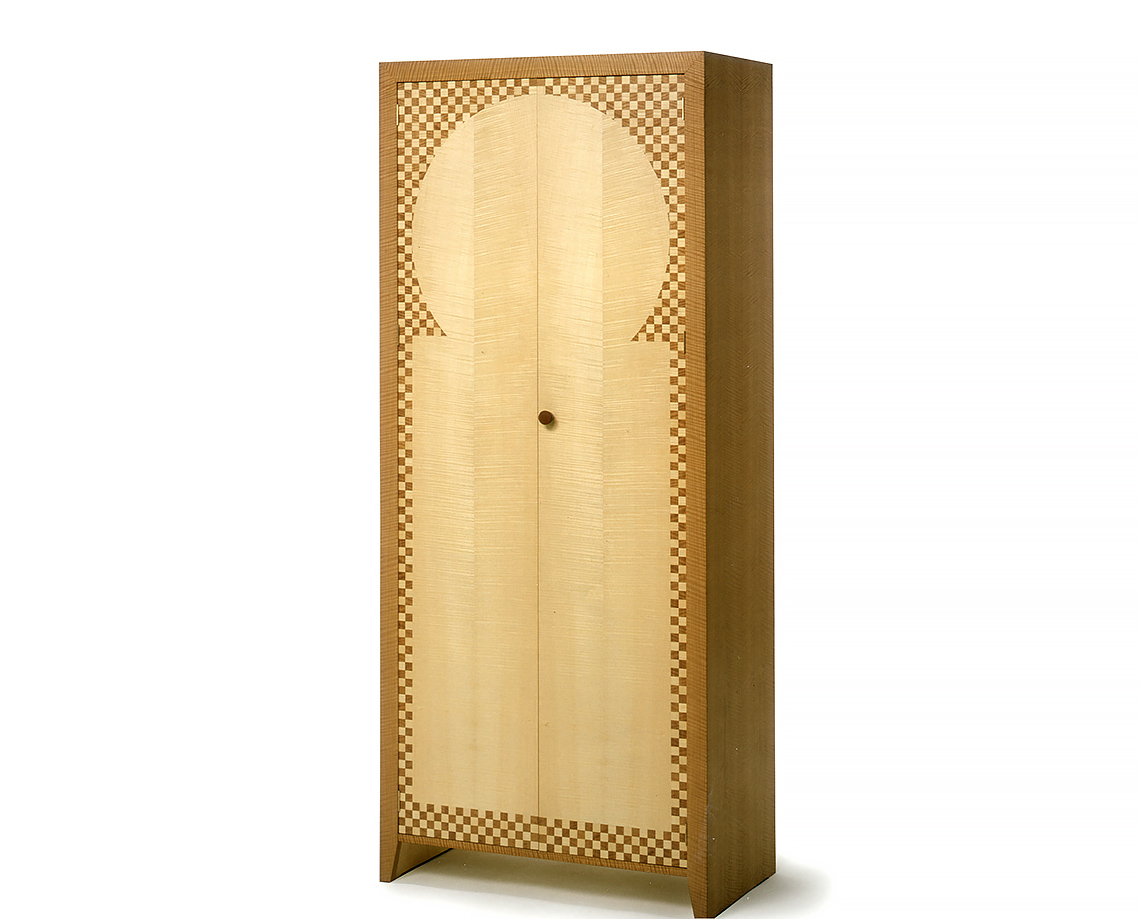
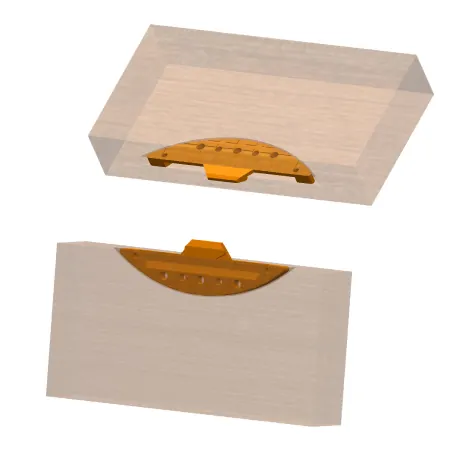
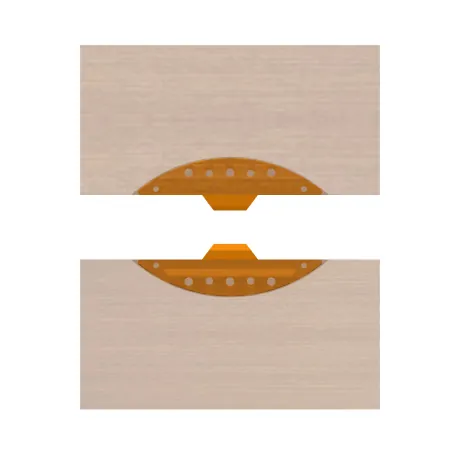
The CHAMP biscuit connector is a proven #20 self-tightening, non-visible slide-in connector made of reinforced plastic. Designed for universal use in furniture, case goods, and architectural millwork, it delivers strong, precise joints without visible hardware.
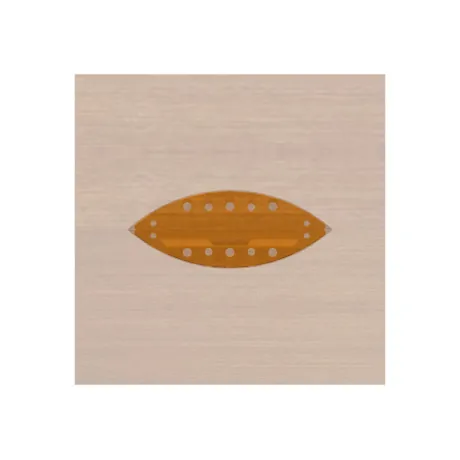
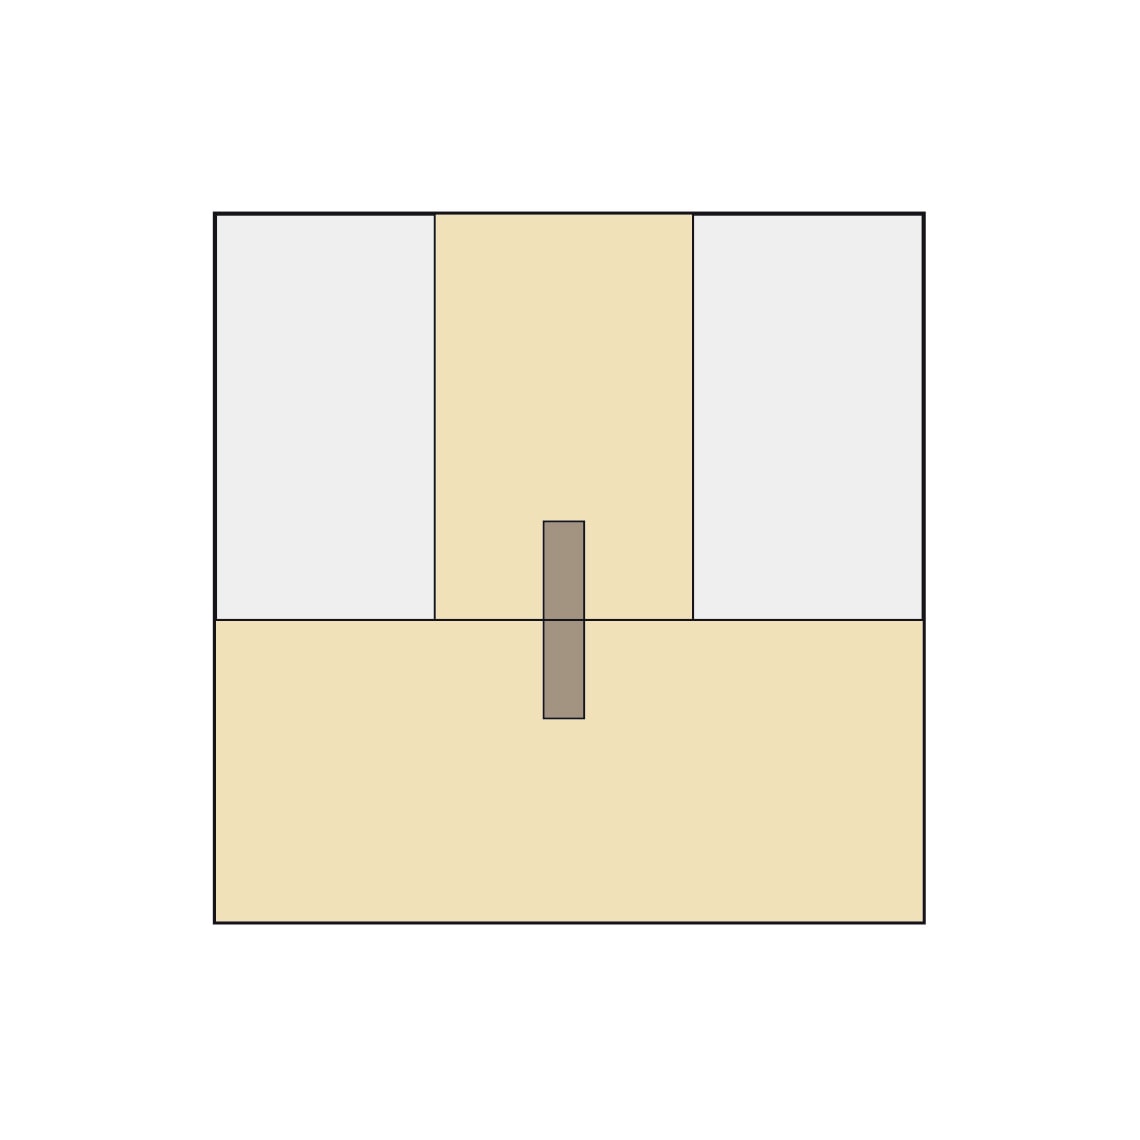
Each connector consists of two halves that are glued into a standard #20 slot. Once cured with KNAPP Adhesive PU+, the parts slide together to form a tight joint. Pressure is applied directly within the joint, ensuring a clean connection without gaps. A permanent bond can also be created by gluing the joint.
Features and Benefits
-
Fast assembly – components slide together in seconds
-
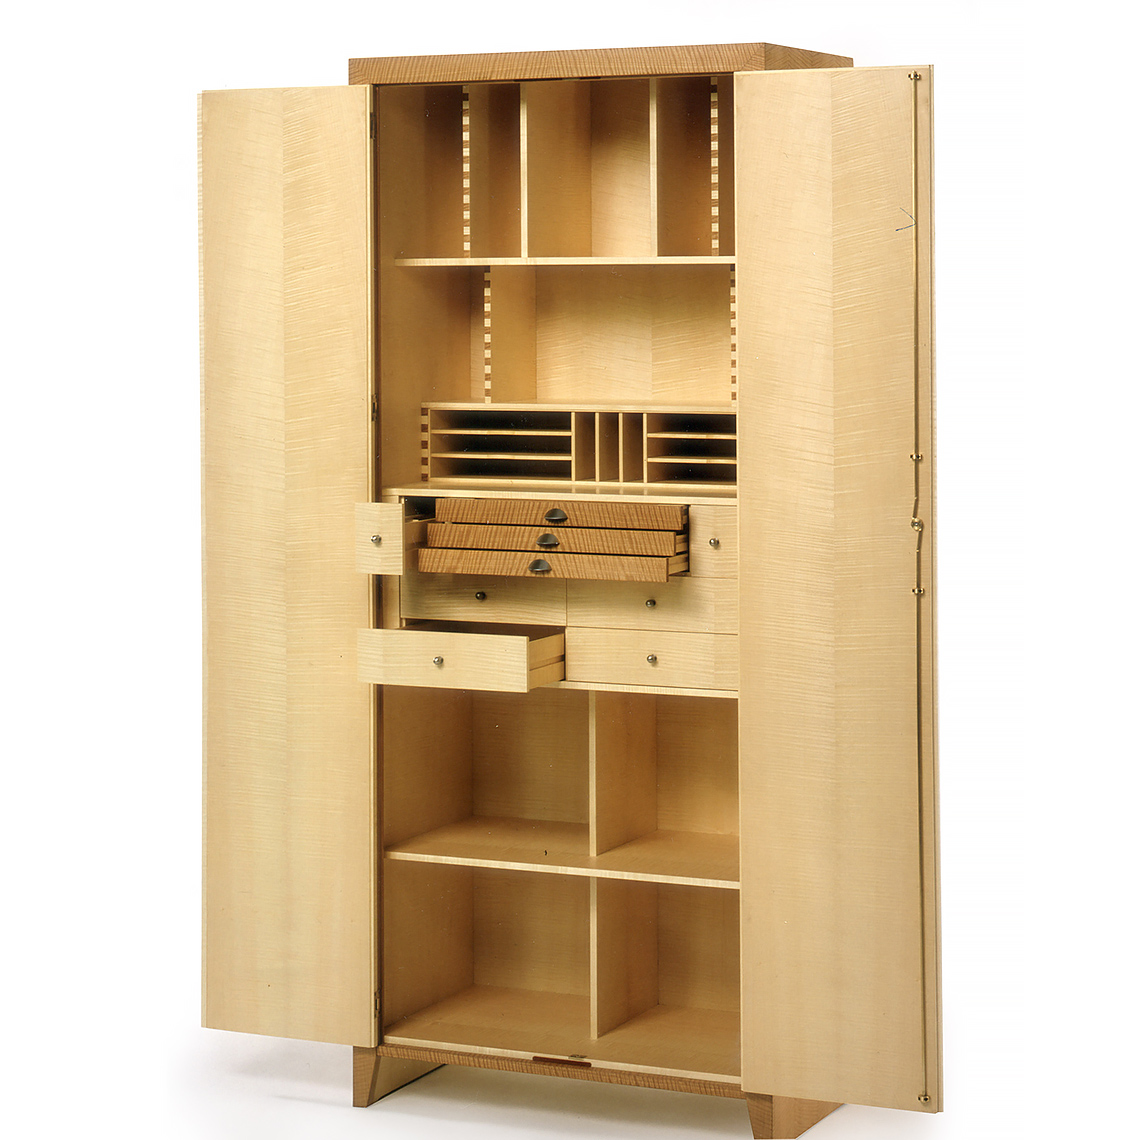
Concealed connection for a clean, professional appearance
-
Self-tightening – maintains consistent pressure and prevents gaps over time
-
Can be assembled and disassembled if needed
-
Effective gluing aid for complex joints such as miters
Applications
-
Furniture assembly
-
Case goods
-
Architectural millwork
-
Shopfitting projects
-
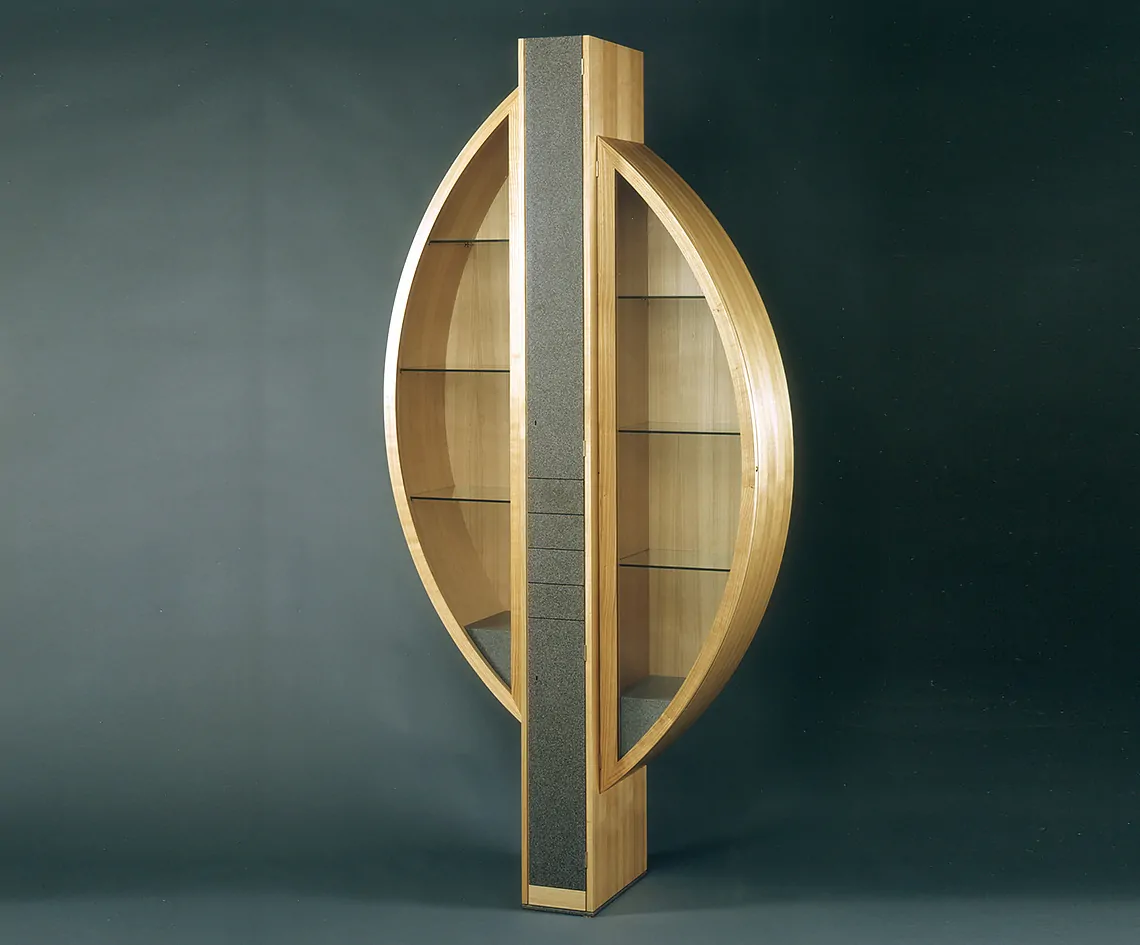
Miter joints and curves where clamping is difficult

Product Details
-
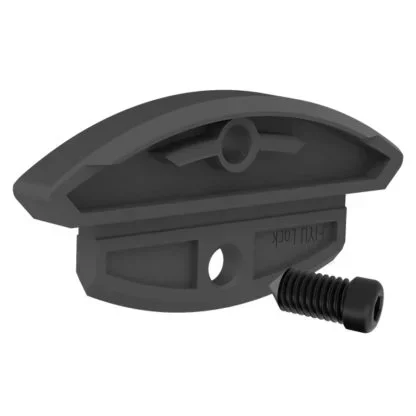
Material: Plastic (PA6, fiber-glass reinforced, orange)
-
Connector Type: Slide-in connector
-
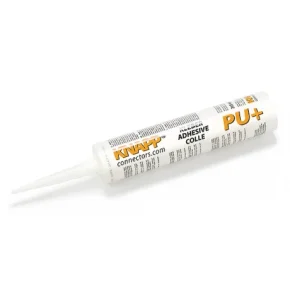
Mounting: Glued into slot with KNAPP-Adhesive PU+
-
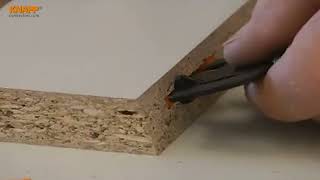
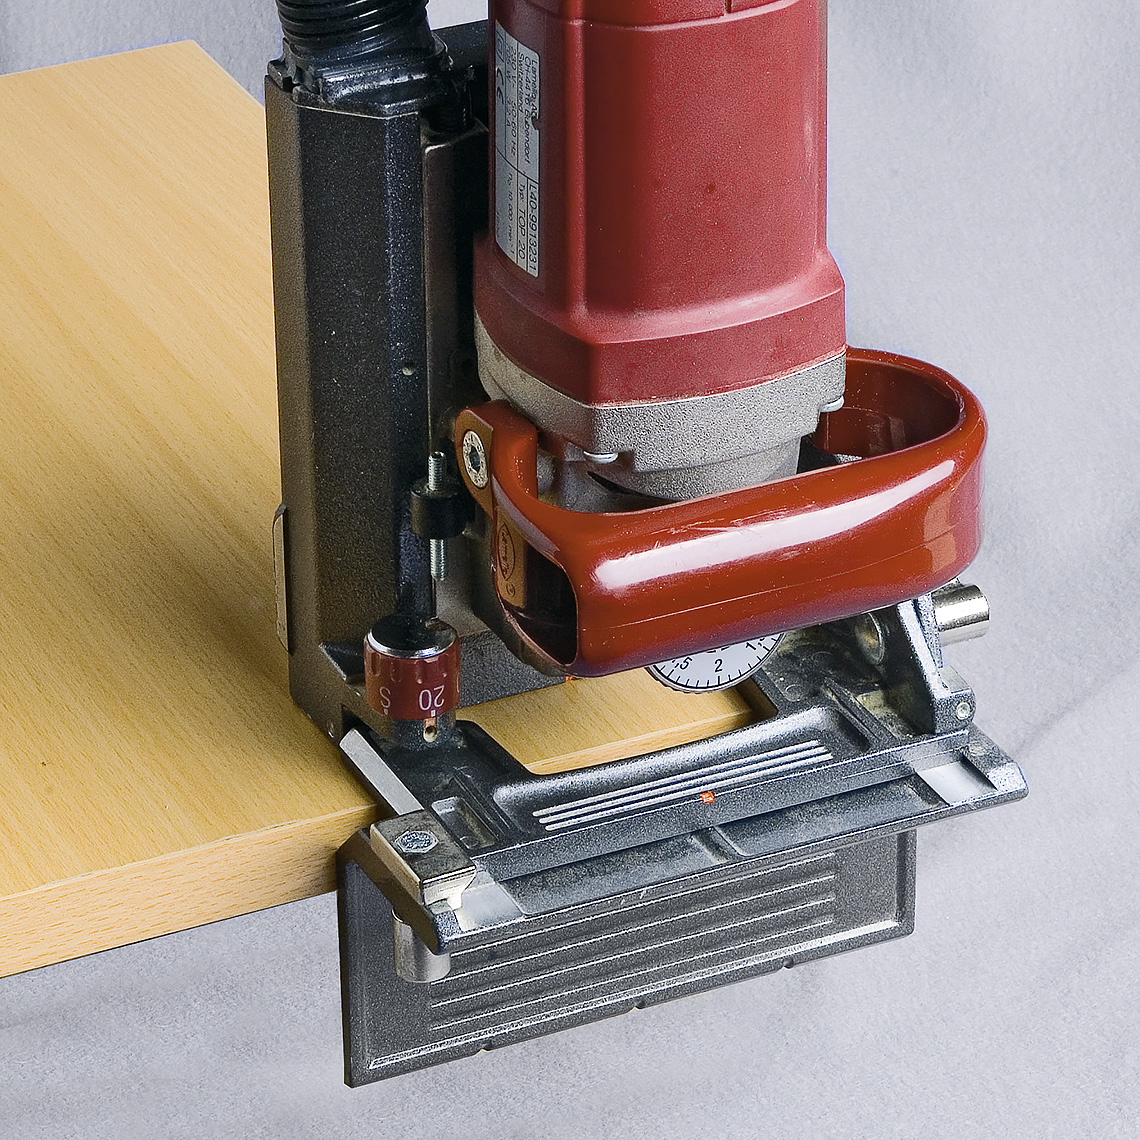
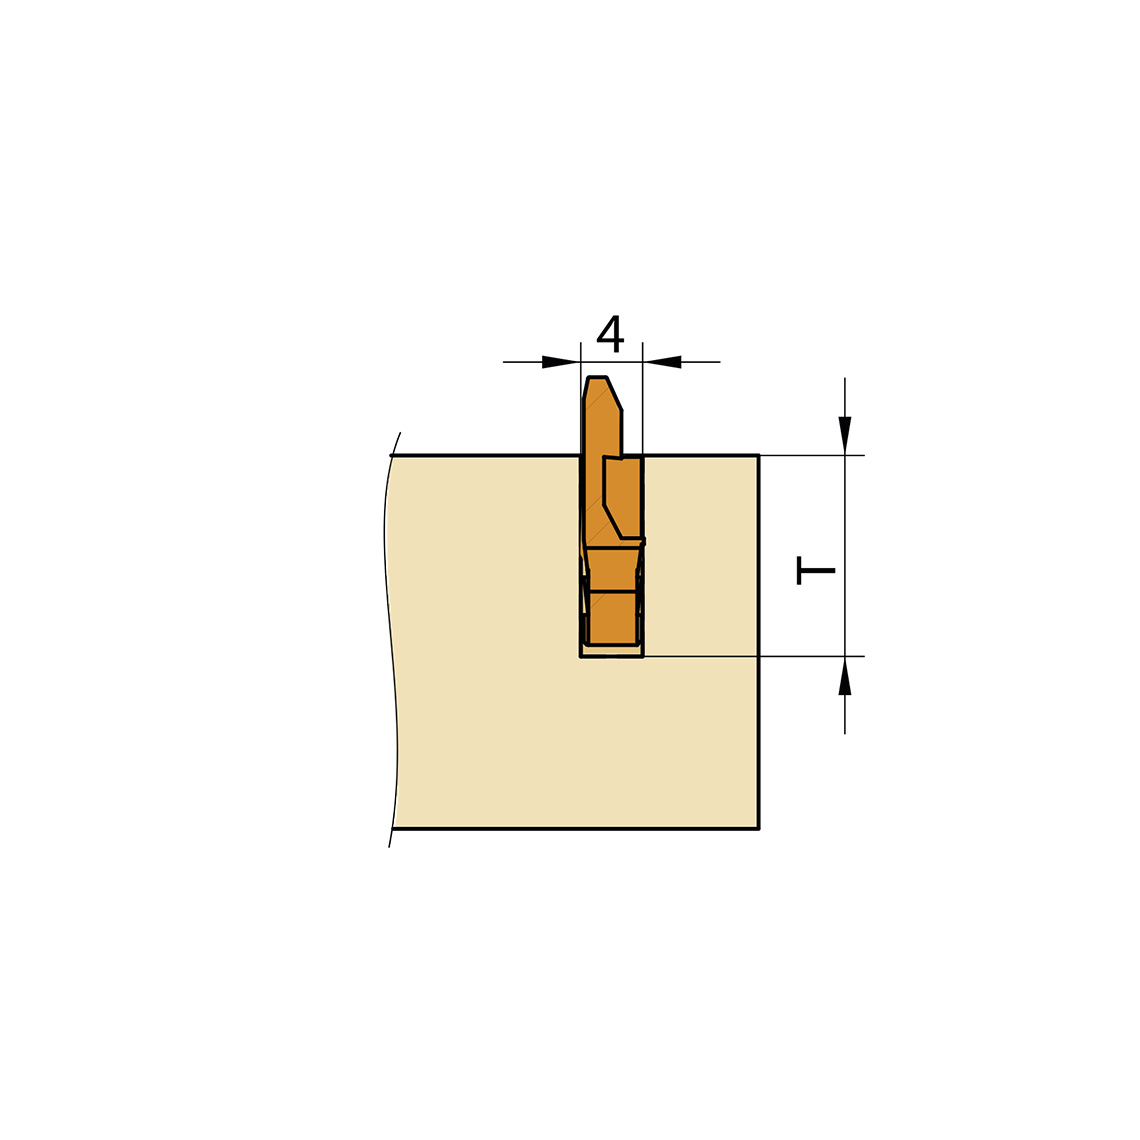
Installation: Cut a #20 slot with a biscuit joiner (12.5 mm depth using the micro-adjustment screw), add adhesive, and insert using the insertion template
-
Suitable Materials: All solid wood and board materials
-
Advantages: Concealed, self-tightening, demountable connector
-
Applications: Furniture, architectural millwork, shopfitting, miter joints, and curves without using clamps or fixing devices
Videos
CHAMP Biscuit Connectors | self-tightening, non-visible plastic slide-in connector
Instructions
Installation Steps
-
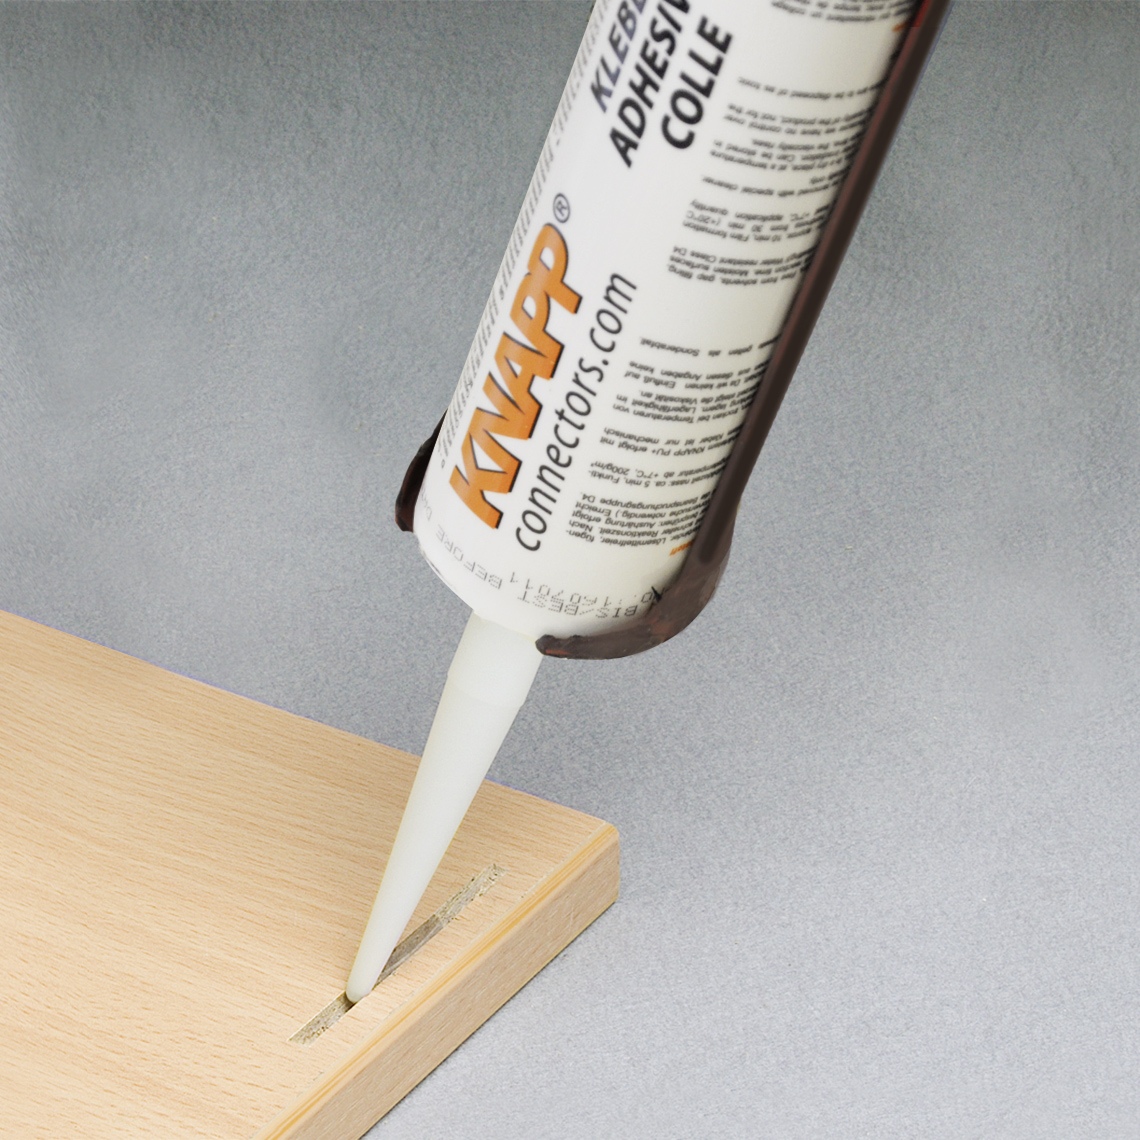
Cut a #20 biscuit slot.
-
Apply approximately a 1/2″ bead of KNAPP®-Adhesive PU+ (Z011/1) in the middle and deepest point of the slot.
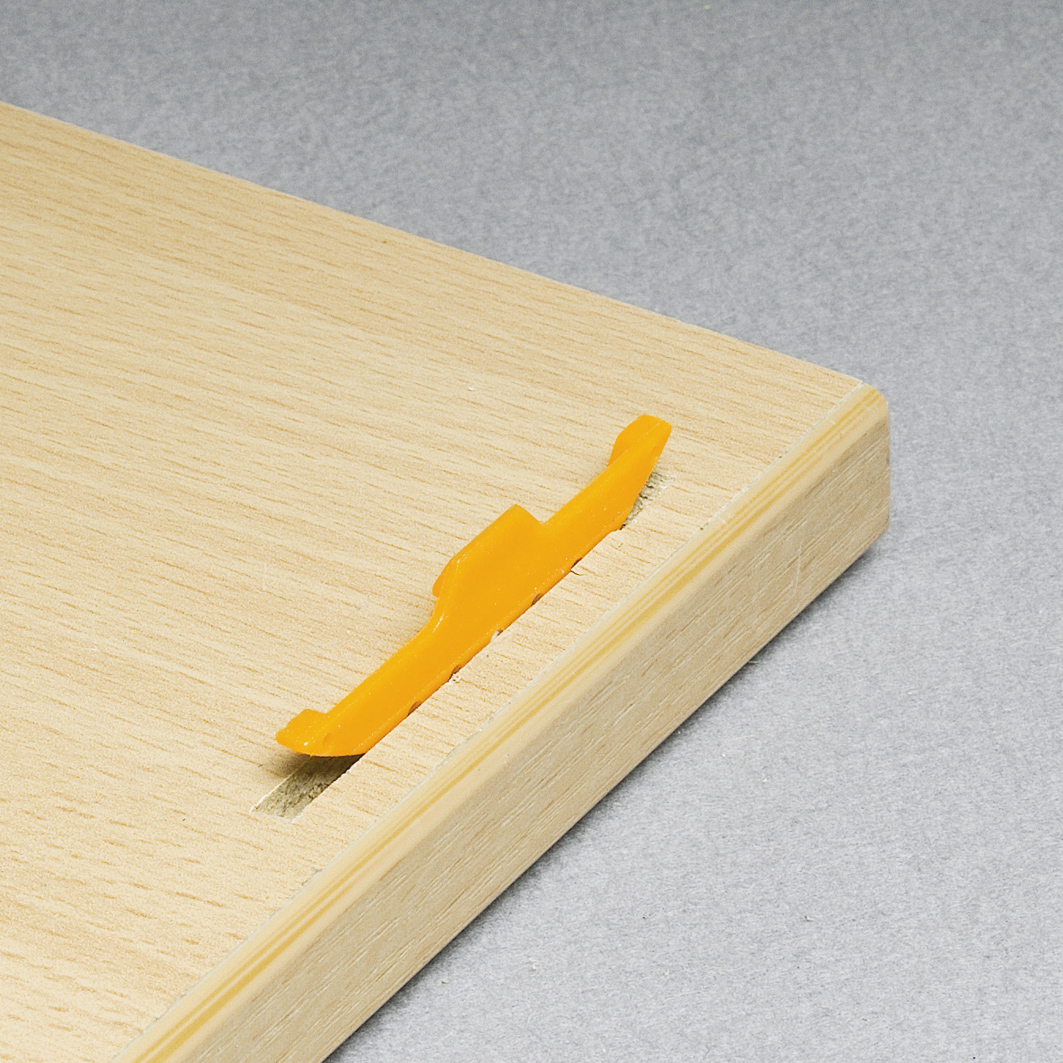
-
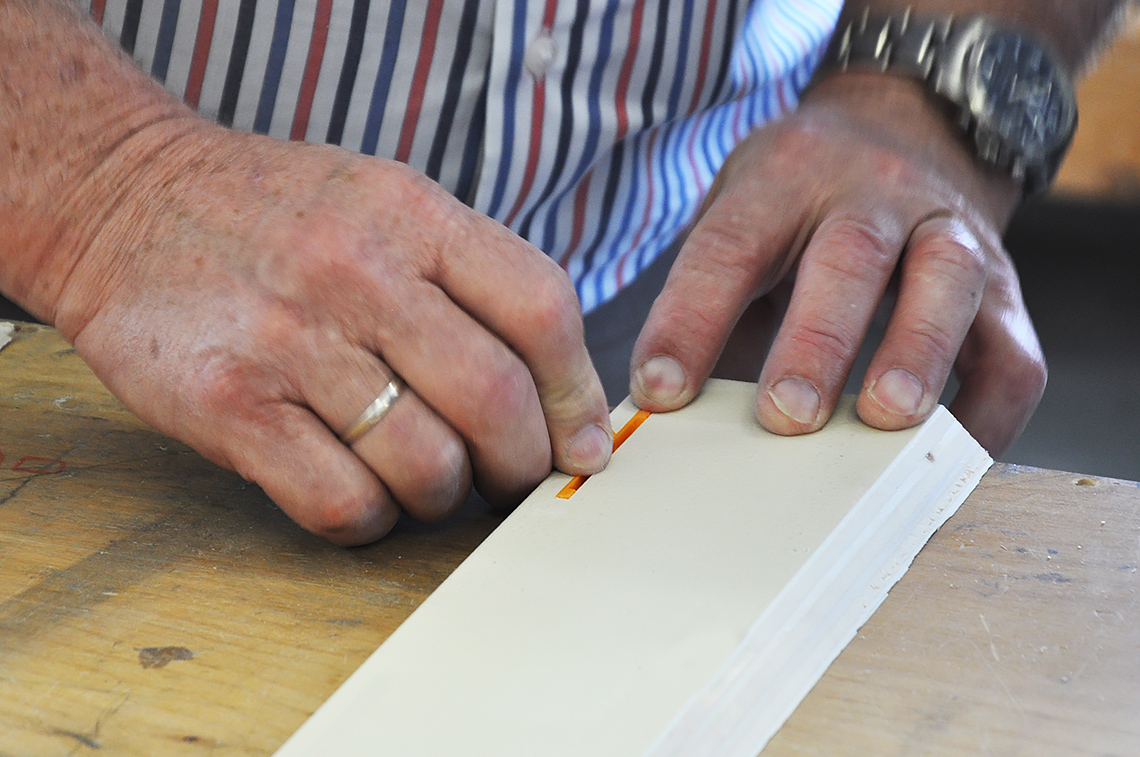
Press the connector halves into the groove so they mirror each other, using the fitting jig.
-
Ensure the connectors at the outer ends are flush with the surface of the component.
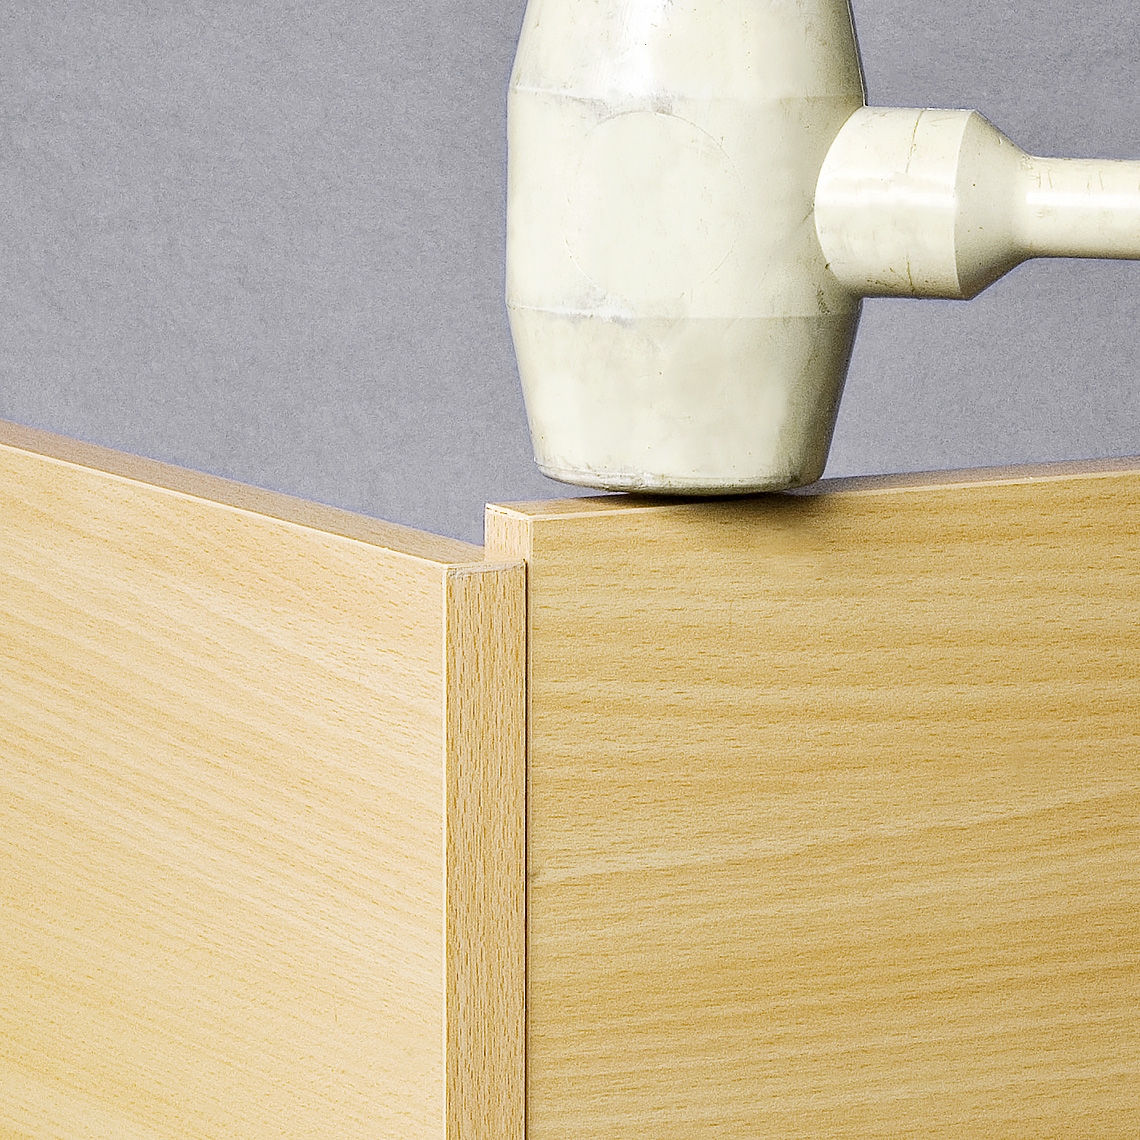
-
After the adhesive has cured, join the parts together. Insert first, then slide into place.
-
For a permanent connection, apply adhesive to the joint before final assembly.
Tips
-
Do not use excessive adhesive.
-
Ideal for ready-to-assemble (RTA) furniture.
-
The fitting jig ensures proper installation depth of the connector in the groove, regardless of the porosity of the panel material.


Product Downloads
$12.99
Product Details
-
Product Line
–
CHAMP
-
Unit
–
Pair
-
Material
–
Plastic
-
Pack Size
–
10, 25, 50, 100, 250, 1000