Your cart is currently empty!
A Quick Guide to Installing Floating Shelves

Floating shelves are elegant additions that offer not only an aesthetic enhancement to your home but also serve a practical purpose as efficient storage solutions. At Knapp, we love to keep our readers and customers updated with the latest techniques and methods to make their projects more seamless.
In this quick guide, we will help you install your very own floating shelves. Whether you are a seasoned do-it-yourself enthusiast or someone who is exploring the world of home improvement for the first time, this guide is for you.
The joy that you will feel, seeing your favorite books or cherished mementos displayed on a shelf that you have installed yourself, is truly unparalleled. Gather your tools and prepare to immerse yourself in this rewarding process of installing floating shelves.
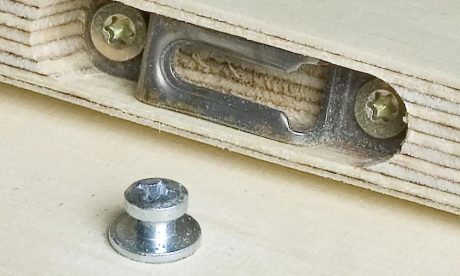
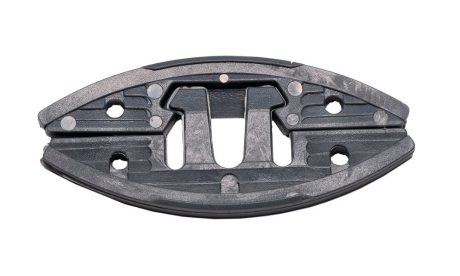
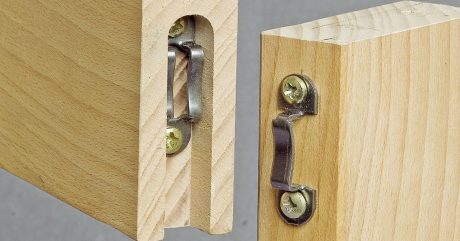
Selecting the Right Dowel Connectors
Choosing the right dowel connectors can make all the difference. They come in various sizes, so it’s essential to match the dowel size to the pre-drilled holes in your shelves and walls. Keep in mind the weight your shelf will carry. Dowels act like invisible support, allowing your shelves to maintain the appearance of floating while still bearing weight.
Pro tip: When selecting your dowels, remember that heavier loads may require larger dowels or more dowels for added support.
Preparing for Installation
Before you begin working on your project, gather all the necessary tools. Alongside your dowel connectors, you’ll need the following:
- Spirit level
- Drill
- Screwdriver
- Pencil (for marking drill points)
Ensure your shelf comes with pre-drilled holes; otherwise, you’ll need a suitable drill bit to create holes.
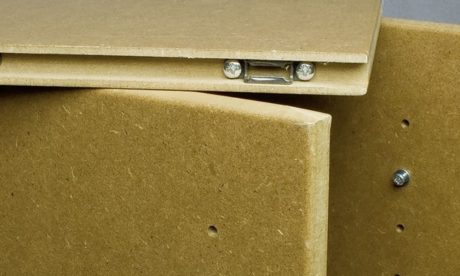
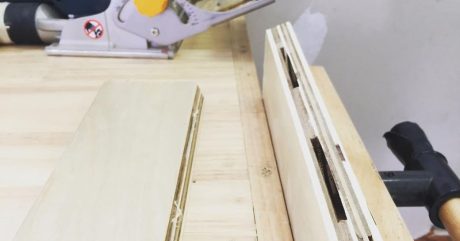
Installing the Dowel Connectors
Once you’ve marked your drill points using the spirit level to ensure alignment, drill holes into the wall and insert the dowel connectors. This will help your shelf have a seamless installation and finish. The dowel connectors should fit snugly but not too tightly. Repeat the process with the matching holes in your shelf.
Attaching the Shelf
Now comes the fun part—attaching the shelf to the wall. Line up the dowel connectors with the holes in your shelf and gently push them onto the wall. The shelf should slide easily onto the dowels, creating a sturdy, secure connection. Make sure to check with a leveler before solidifying your work.
Checking Your Work
Once you’ve installed the shelf, triple-check your work. Ensure the shelf is level and can bear weight without showing any signs of instability or movement. If needed, make adjustments by gently removing the shelf, repositioning the dowels, and reattaching the shelf.
Now you’re ready to show off your collections and achievements! With our quick guide to installing floating shelves, you can transform your living space into a more organized and aesthetically pleasing environment. If you follow each step closely, you will be able to ensure the integrity and stability of your new addition.
Installing floating shelves doesn’t have to be a daunting task. With plastic dowel connectors, the process becomes straightforward and hassle-free. Transform your space today with the sleek, modern appeal of floating shelves. You’ll be amazed at the difference these simple additions can make.