They may be small, but biscuit connectors have the power to deliver seamless joints and strong bonds for woodworking projects of all kinds. To take your next project up a notch, start by learning the art of conquering biscuit connectors for perfect woodwork.
With this helpful guide, you’ll discover exactly how biscuit connectors work, their many benefits, and how to do those precise cuts and joins that make woodworking truly magical.
What Are Biscuit Connectors, and Why Should You Care?
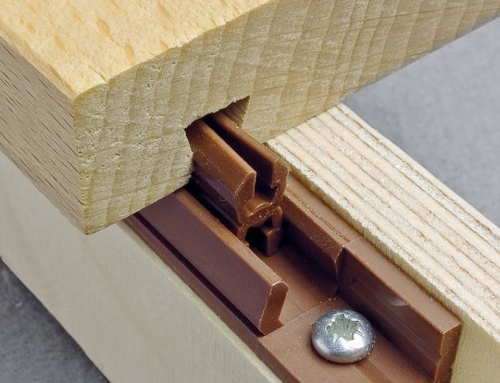
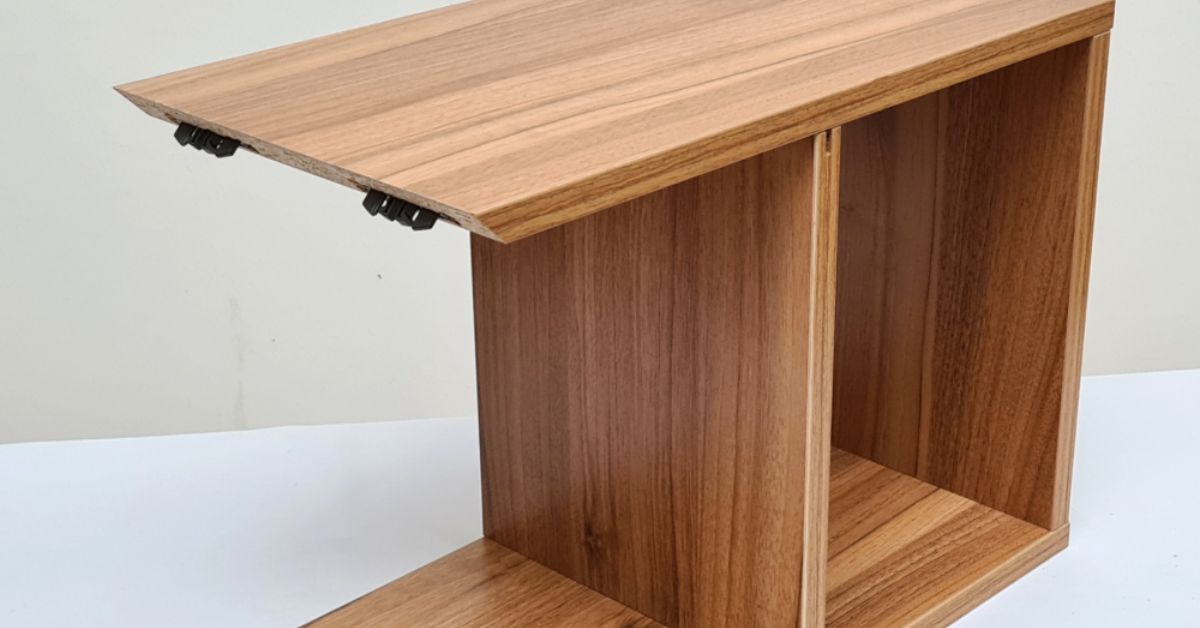
Biscuit connectors are oval-shaped, compressed wood pieces that are often made of beechwood. They’re designed to fit snugly into matching grooves in two workpieces. After you add a bit of glue, the biscuit swells enough to lock the pieces together to form a near-flawless joint.
Biscuit connectors are popular for edge-to-edge joins when constructing tabletops, shelves, and panels. These tiny gadgets enhance the strength of your project while guaranteeing perfect alignment, a nonnegotiable when precision is the backbone of your craft.
As a professional woodworker, biscuit connectors save you time, elevate your artisanship, and let you impress your clients with seamless joints that stand the test of time.
The Perks of Biscuit Joinery
While dowels, pocket screws, and mortise-and-tenon joints all have their merits, biscuit joinery holds its own in several key ways. Follow along for all the reasons you need to add biscuit connectors to your toolkit ASAP.
Stronger Joints Without the Hassle
By effectively reinforcing joints without requiring complicated setups, biscuits are all about simplicity. Once glued, these connectors create a bond that can hold up even against considerable force. These joints will stay solid under potentially challenging conditions, allowing your hard work to shine for years to come.
Alignment You Can Brag About
If you’re tired of wrangling misaligned edges during a project, biscuits are here to save the day. By creating invisible pegs between your boards, they automatically align the pieces and eliminate the uneven surfaces every woodworker dreads.
Great for Large Surfaces
Biscuit connectors excel when you’re working with expansive panels or tabletops. Adding multiple biscuits along the length of the joint distributes strength evenly across your workpiece. This placement avoids weak spots and awkward bending, providing perfect alignment from edge to edge.
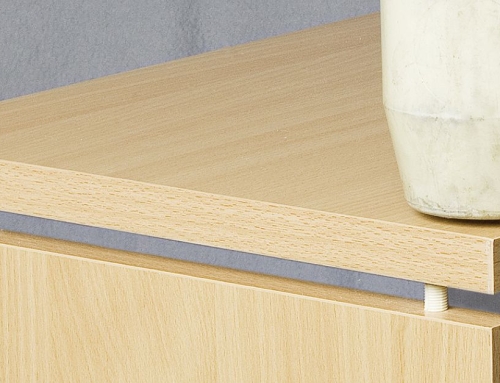
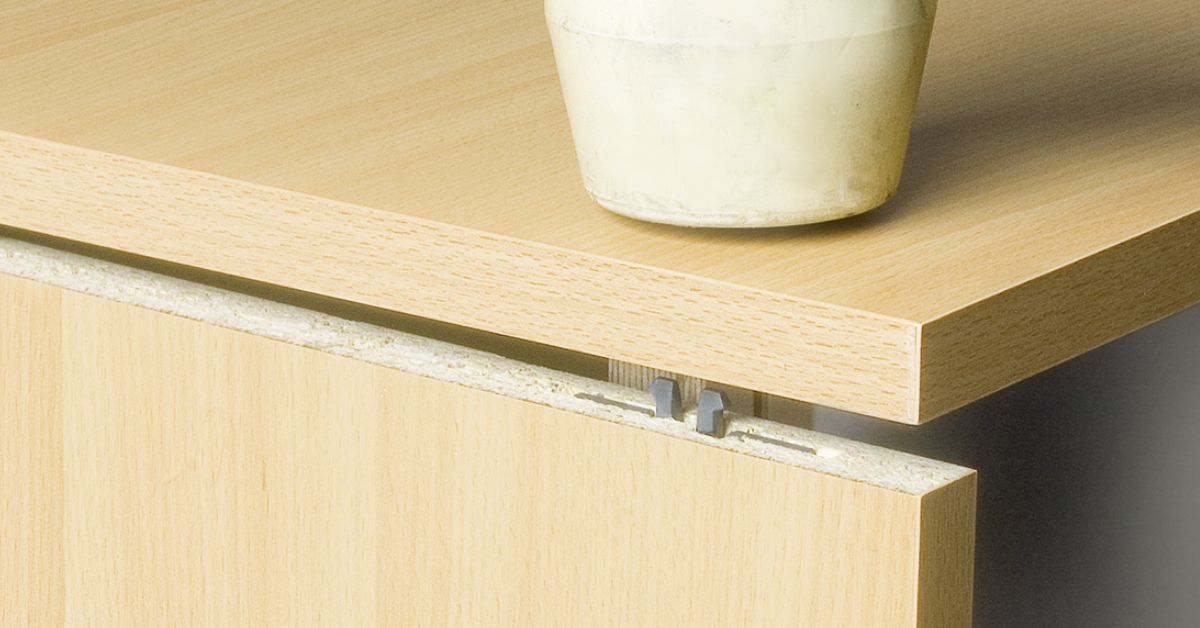
Visually Seamless
Providing a clean finish is nonnegotiable in your line of work, and biscuit joinery gets the job done every time. Biscuits remain entirely concealed, leaving no visible surfaces or protrusions. This way, your project can shine without distraction from noticeable screws or visible hardware.
How To Learn Biscuit Joinery
It’s time to put theory into practice. Follow these steps to achieve biscuit joint perfection without fail.
Step 1. Choose the Right Tools
First, grab the essentials:
- Biscuit joiner (aka plate joiner): This tool is a must-have to cut precise slots for biscuit connectors.
- Biscuits: Keep different sizes handy for all your projects.
- Wood glue: Opt for high-quality adhesive designed specifically for woodcraft.
- Clamps: These are necessary to hold the glued workpieces together while they set.
With high-quality tools, your cuts will meet professional standards and minimize stress.
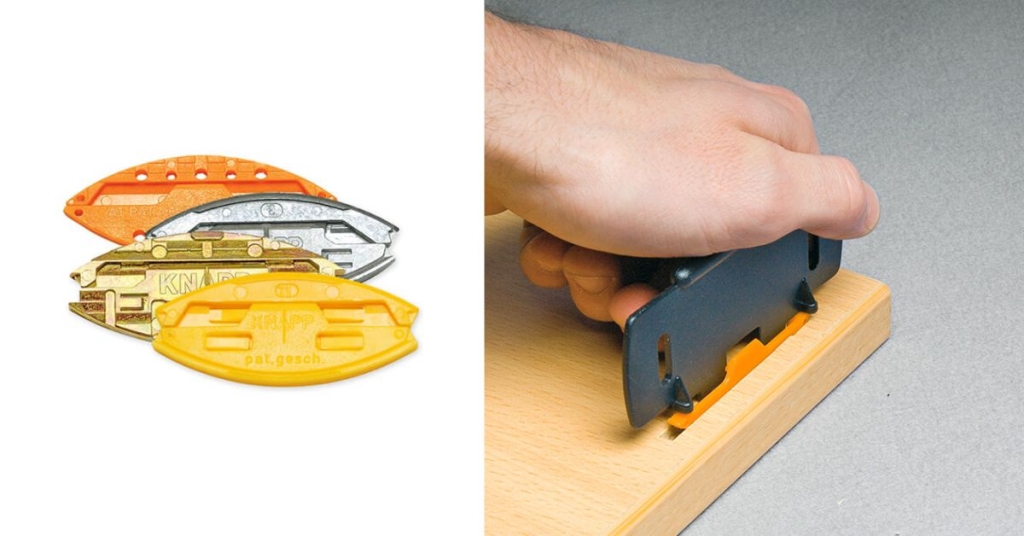
Step 2. Choose the Right Biscuit Size
Every project requires different-sized biscuits, so explore some of these common options to see which is right for you.
- Size 0: This starting size is perfect for smaller pieces or delicate trims.
- Size 10: A biscuit in this size is best for medium-sized joints like narrow shelves.
- Size 20: These are ideal for large-scale joins, such as tabletops and wide panels.
When in doubt, err on the bigger side for added stability.
Step 3. Mark Your Slots
Precision is key, so grab a pencil and your trusty T-square. Align the two boards you’ll be joining, and draw matching lines across both at the spots where biscuits will connect them. Typically, you’ll want to space biscuits about six to 12 inches apart along the length of the joint. Take your time during this step because these marks can either lead to perfectly aligned biscuits or a misaligned disaster.
Step 4. Cut Biscuit Slots
Over each pencil mark, position the joiner, then cut slots into both pieces of wood. Keep a steady hand and align each slot with its matching one on the opposite board. Don’t rush this step; a wobbly slot can lead to misalignment, compromising the strength and aesthetics of your joint.
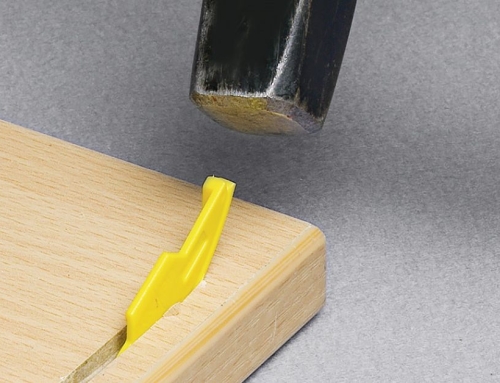
Step 5. Glue and Biscuits, Assemble!
Add a dab of glue inside each biscuit slot, then insert them. Next, spread a thin layer of glue along the edges of the boards you’re joining. Press the pieces together to fit your biscuits snugly into their spots.
Step 6. Clamp and Wait
Once you join the boards, clamp them tightly. Leave them to dry for at least 30 minutes. For the best results, allow the glue to cure fully overnight. Your patience pays off here; you’ll be rewarded with a rock-solid, spotless bond.
Pro Tips for Flawless Biscuit Joints
You’ve got the basics down, but a few pro-level tips can elevate your biscuit joinery game further.
- Match wood grains: Always align the grain of the wood for a seamless finish. When the grain flows, the final piece looks more cohesive and professional.
- Test before gluing: Dry-fit the connecting pieces together to confirm your biscuits make the proper contact. Adjust as needed before adding glue.
- Avoid too much glue: Less is more here. Too much adhesive can cause swelling and misalignment.
- Clean excess glue immediately: A damp cloth will prevent dried glue from marring your surfaces and keep your finish looking pristine.
- Practice first: If you’re new to biscuit joinery, find some scrap wood and practice your skills. You’ll thank yourself later.
When To Skip Biscuit Joinery for Alternatives
While biscuits are excellent for multitasking, some situations call for alternative joinery methods. Avoid biscuits for load-bearing projects that require maximum strength. Instead, opt for mortise-and-tenon. Additionally, biscuits won’t work well with curved or rounded pieces or if the material is too thin.
With strength, precision, and a clean finish, biscuit connectors have changed the woodworking game for the better. Now that you know the basics, you’re ready to start conquering biscuit connectors for perfect woodwork. To add these incredible gadgets to your woodworking kit, explore the biscuit connectors available at Knapp Connectors.