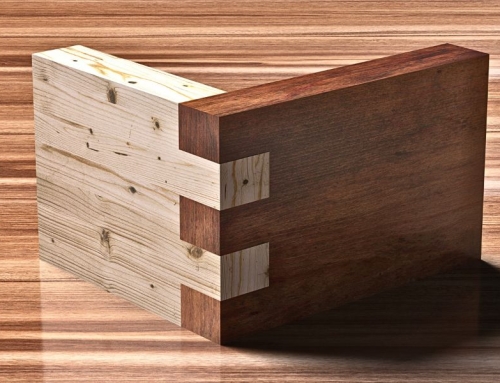
Are you looking to take your woodworking projects to the next level? With so many different joinery techniques available, deciding which one will work best for what you’re trying to create can be difficult. One of the simplest yet most effective methods is pocket hole joinery.
This hardware uses screws and pocket holes to fasten two pieces of material together securely. While we understand the challenge of using various hardware for the first time, we will explain the basics of pocket hole joinery in a nutshell and why it’s essential for any beginner woodworker or ambitious hobbyist. Let’s dive into the basics to help you become a pro!
The Basics of Pocket Joinery
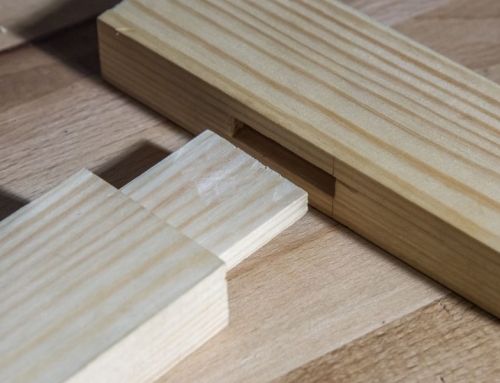
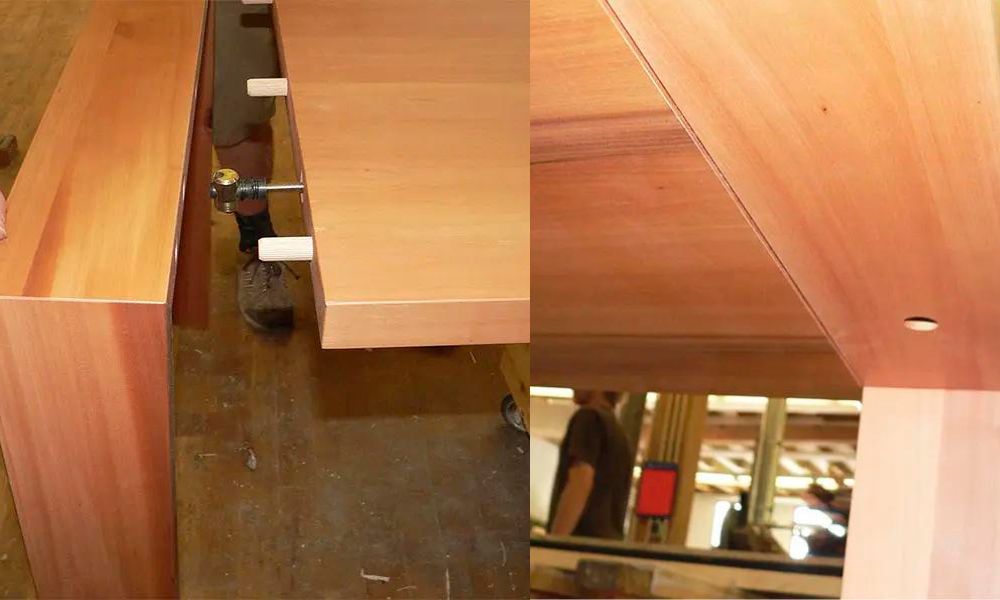
Pocket hole joinery has gained popularity due to its simplicity and the strength it provides. It is suitable for various woodworking projects, such as furniture building, cabinetry, and home repairs.
This type of joinery involves using a pocket hole jig, drill, and special screws to combine wood pieces. Using a drill, the pocket hole jig creates angled pocket holes in the wood. These holes are then used to secure the wood pieces with screws.
Materials Needed for Pocket Hole Joinery
Before building, you must understand what materials and tools are required, then gather everything before you begin. After all, preparation is the key to success. You’ll need a few essential tools and materials to use pocket hole joinery in your projects. These include:
- Pocket hole jig
- Drill
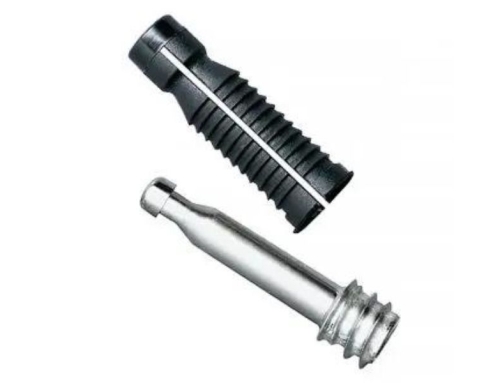
- Special screws – These are unique screws designed to fit the pocket hole jig and create a strong bond.
- Wood glue – While optional, you can use the glue before installing the screws to ensure a stronger hold.
How To Use Pocket Hole Joinery
If you’re a beginner woodworker looking for an efficient and strong way to combine two pieces of wood, pocket hole joinery is the answer. This method uses pre-drilled holes and specialized screws to create fast, tight-fitting joints without relying on glue or complicated tools. Below are the steps to ensure you use this woodworking hardware properly:
- Start by setting up your pocket hole jig according to the manufacturer’s instructions.
- Clamp the jig onto the wood piece where you want to create the pocket hole.
- Drill the angled hole into the wood.
- Apply wood glue along one side of the joint.
- Join the two wood pieces together, insert a pocket hole screw into the hole, and screw it into place.
- Repeat the process for any other pocket holes you need to make.
Now that you know the basics of pocket hole joinery, you can begin working on your wooden project! At Knapp, we’re proud of our innovative tools and their ability to reduce your assembly time. Check out our high-quality furniture assembly hardware to take your project to the next level. If you have any questions, be sure to browse our website for more quick guides and information about our products.