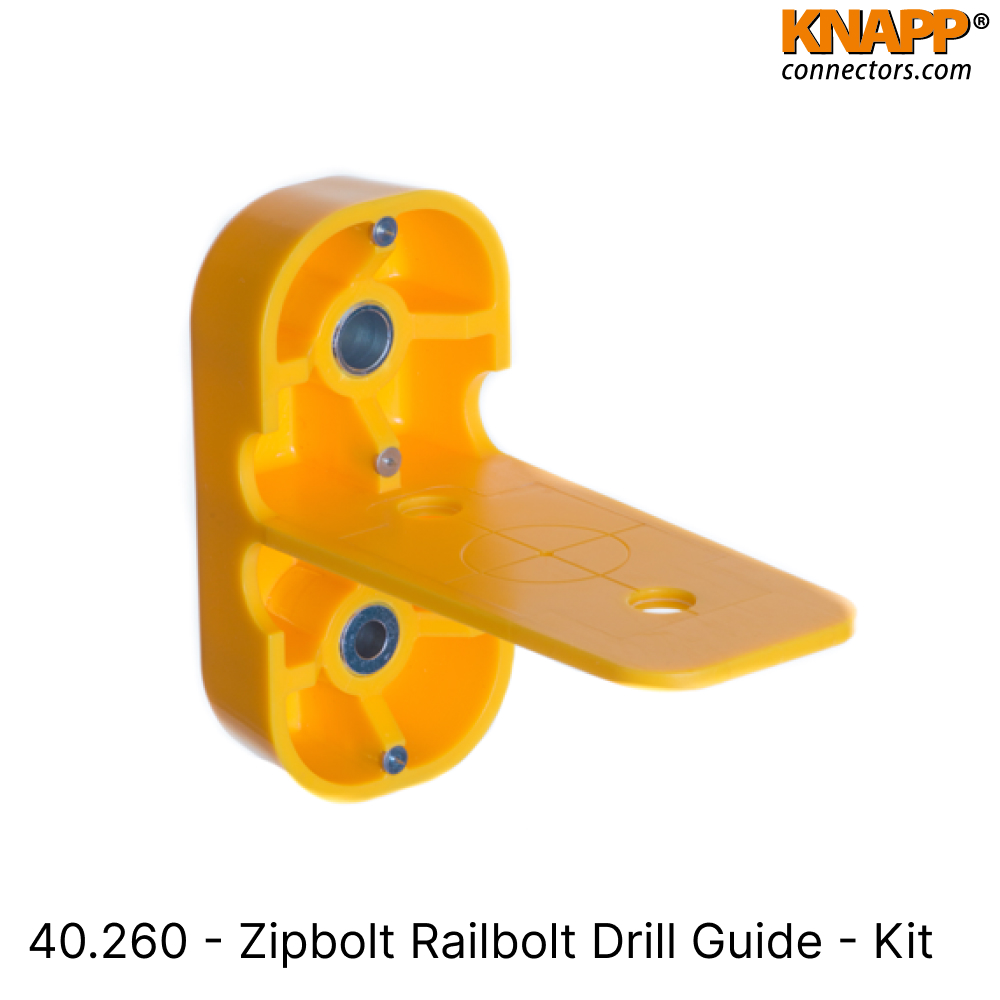
40.260 – Zipbolt Railbolt Drill Guide
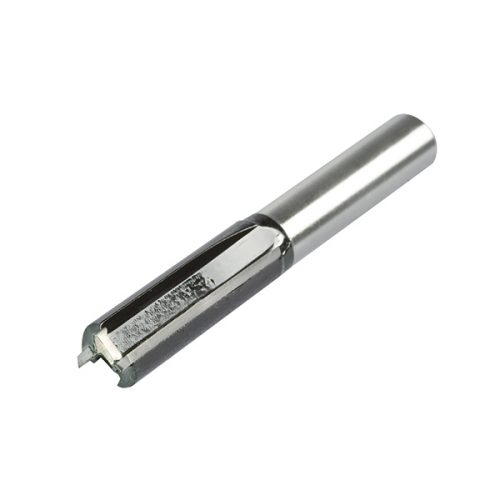
The 40.260 – Zipbolt Railbolt Drill Guide is designed to enhance the precision and ease of drilling for various Zipbolt connectors. This guide is specifically suited for use with the Zipbolt UT Railbolt 13.600 and can also be adapted for the Angled Railbolt 11.550 and all Slipfix models (13.801, 13.950, 13.900). It is an invaluable tool for professionals requiring accurate and consistent drilling into the end grain of rails and fittings.
Product Overview:
The Railbolt Drill Guide 40.260 is engineered to ensure that drilling operations are carried out with high precision, making it easier to create accurate holes for Zipbolt connectors. Its design allows for effective alignment and drilling, which is crucial for achieving secure and reliable fittings.
Design and Functionality:
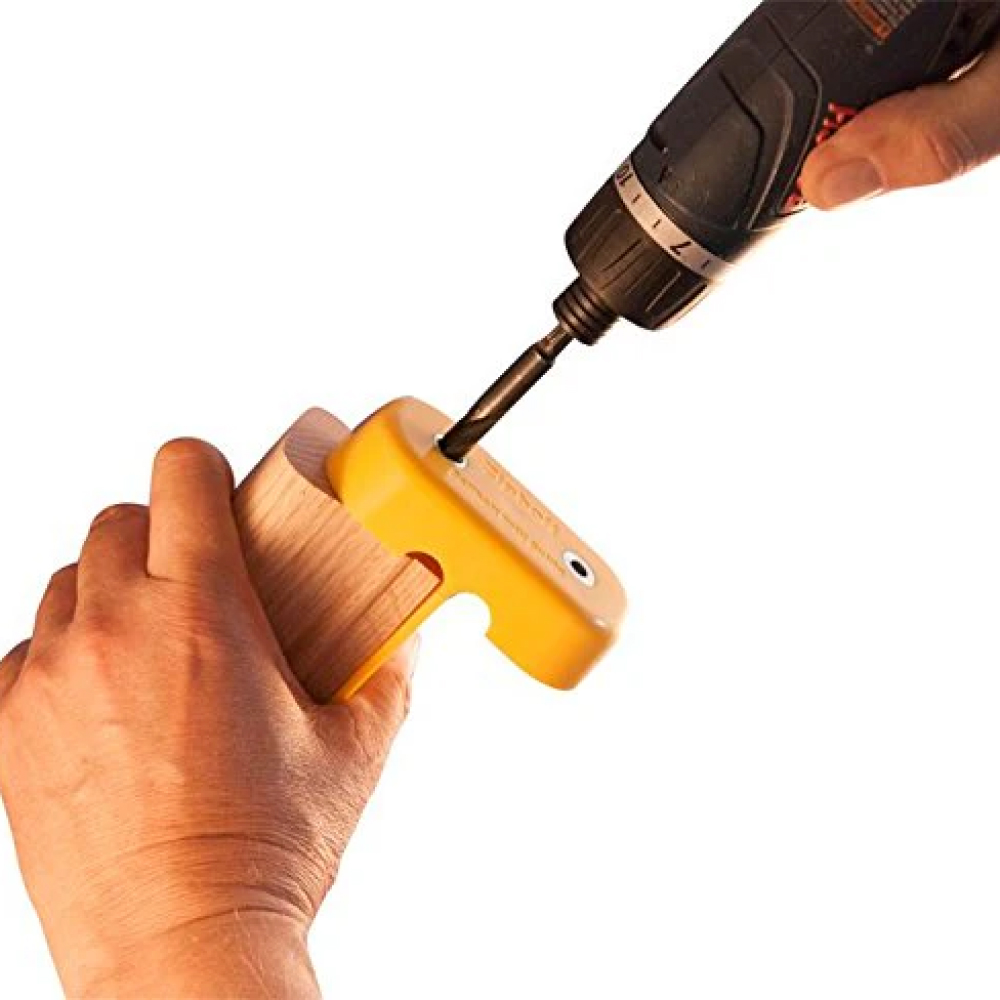
The guide is equipped to handle drilling tasks for several Zipbolt models, making it a versatile addition to any toolkit. For the UT Railbolt 13.600, it ensures precise drilling alignment, while its adjustable features accommodate the Angled Railbolt 11.550 and Slipfix models. It simplifies the process of drilling into the end grain, which can otherwise be challenging. Users should refer to the provided instructions to determine the correct setback distance for the 25mm/1″ hole, as this distance varies between different connector models.
Key Benefits:
- Enhanced Accuracy: Facilitates precise drilling for secure and effective fittings.
- Broad Compatibility: Works with multiple Zipbolt models, increasing its utility.
- Simplified Process: Makes drilling into end grain easier and more accurate.
- Adjustable Setback: Includes instructions for ensuring correct hole placement based on model requirements.
Applications:
The Railbolt Drill Guide 40.260 is ideal for use in both workshop and on-site settings. It is particularly useful for tasks involving the installation of Zipbolt connectors, where accurate drilling is essential for maintaining the integrity and strength of the connection.
Installation Instructions:
- Select the Connector: Determine which Zipbolt model you will be working with.
- Align the Guide: Position the Railbolt Drill Guide 40.260 for the specific connector model.
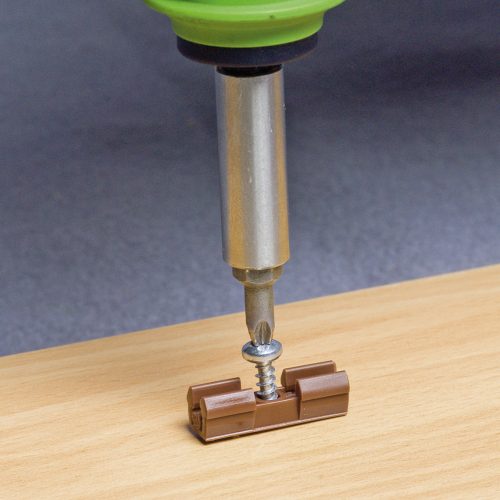
- Drill the Hole: Use the guide to drill the 25mm/1″ hole into the end grain of the rail or fitting.
- Check Setback Distance: Follow the provided instructions to ensure the correct setback distance for your connector model.
With the Railbolt Drill Guide 40.260, achieve precise and reliable drilling for Zipbolt connectors, improving the efficiency and accuracy of your installations.