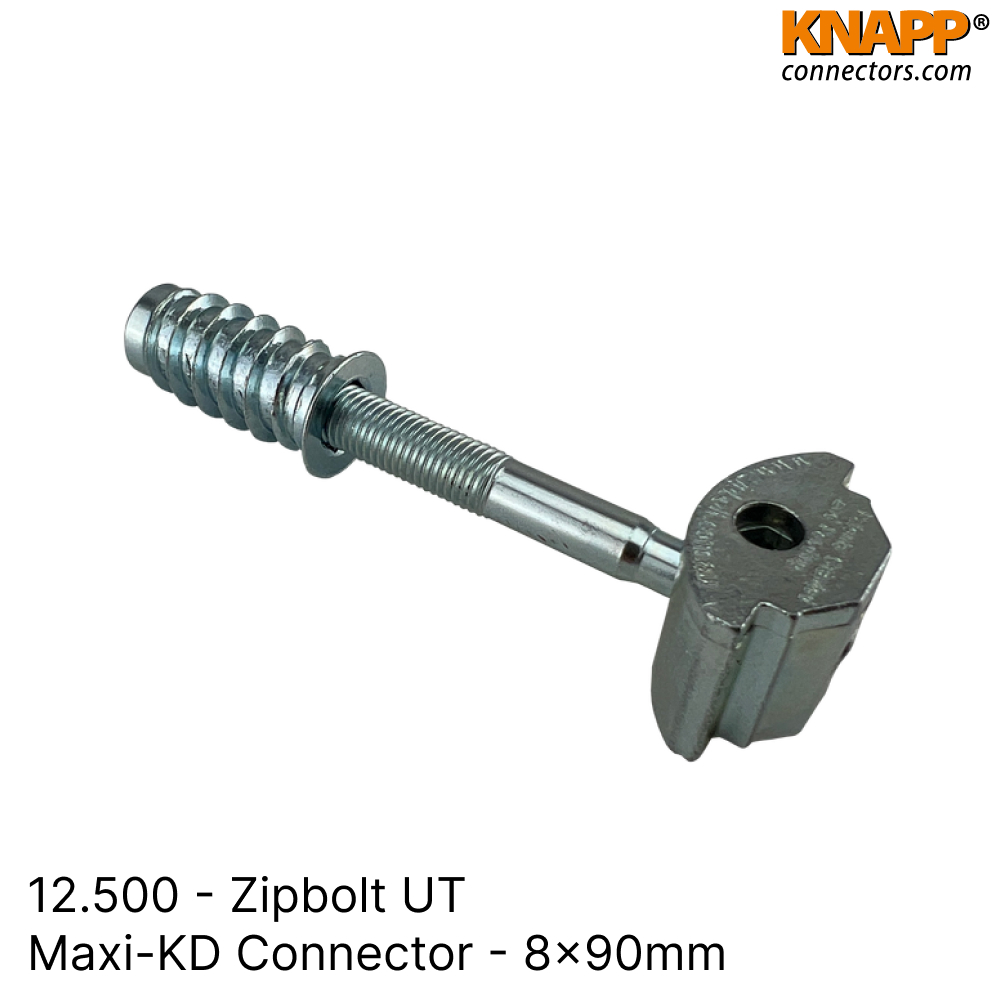
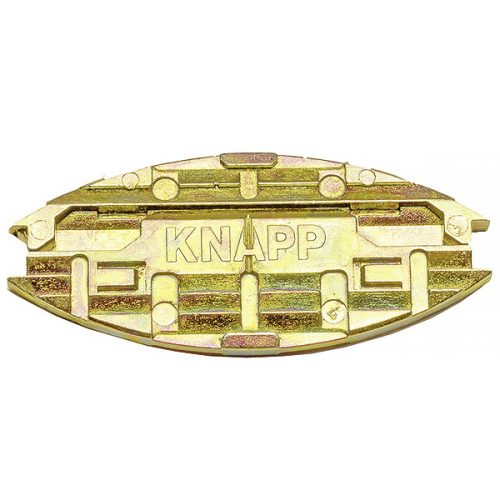
12.500 – Zipbolt UT Maxi-KD Connector
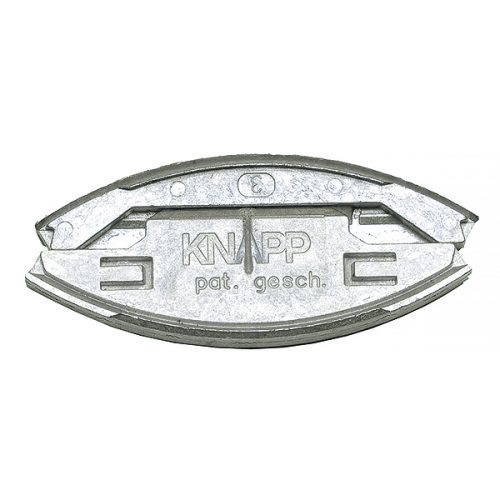
The 12.500 – Zipbolt UT Maxi-KD is a high-strength demountable connector specifically engineered for bed, table, and joinery assembly. This connector features a substantial 35mm (1 ½”) gear housing that provides a large surface area, effectively distributing pressure across the material and ensuring a stable, durable connection.
Product Overview:
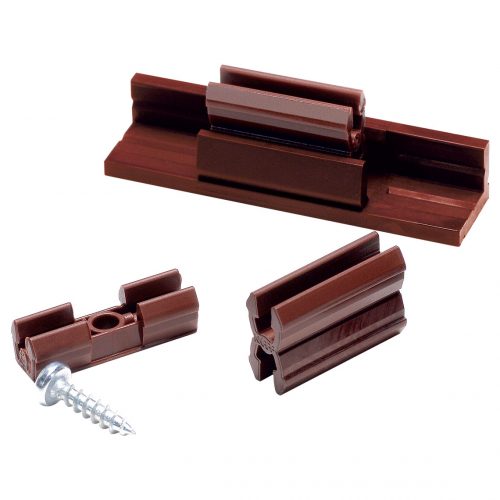
Designed to improve assembly efficiency, the Zipbolt UT Maxi-KD Connector integrates a robust insert screw with an 8mm screw shaft, facilitating secure and reliable joints between furniture components. This connector is particularly effective when used in conjunction with dowels and liquid adhesives, allowing for the assembly of legs, rails, and other components in a single step rather than over several days.
Design and Functionality:
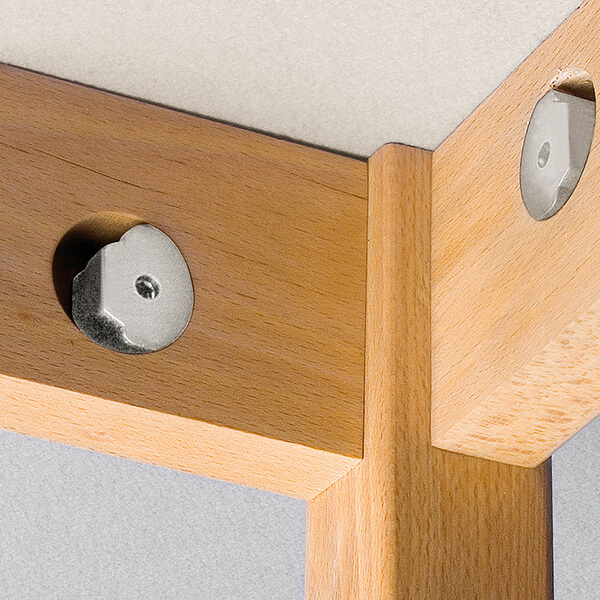
The large gear housing of the Zipbolt UT Maxi-KD Connector enhances pressure distribution, reducing the risk of material damage and ensuring a strong connection. Its robust design makes it suitable for heavy-duty applications, providing a reliable solution for both professional and DIY furniture assembly.
Key Benefits:
- Even Pressure Distribution: The 35mm gear housing ensures consistent pressure across the material, enhancing joint strength and stability.
- Secure Connection: The 8mm screw shaft provides a strong, reliable connection between components.
- Increased Efficiency: Allows for simultaneous assembly of multiple components, significantly speeding up the production process compared to traditional methods.
Applications:
The Zipbolt UT Maxi-KD Connector is ideal for use in various joinery and furniture projects, including beds, tables, and other pieces requiring durable and efficient assembly solutions. Its design supports quick and effective assembly, making it a valuable addition to any woodworking or furniture manufacturing process.
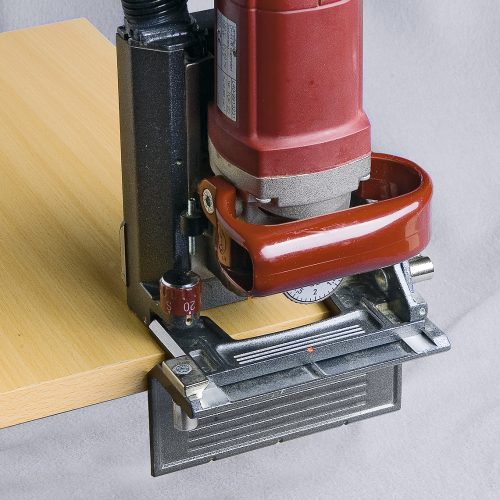
Installation Instructions:
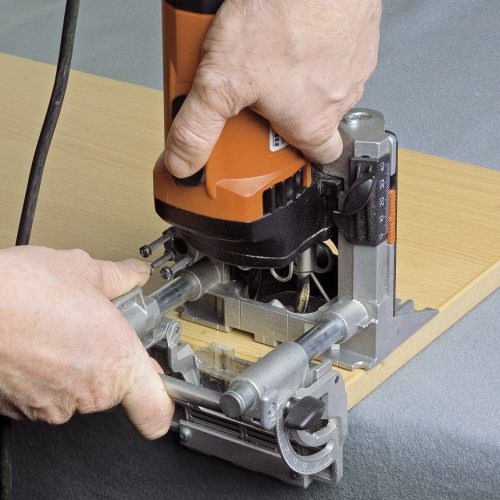
- Prepare Components: Ensure all components are properly aligned and ready for assembly.
- Position the Connector: Insert the KD Maxi connector and align with the dowels and adhesive.
- Secure the Connection: Tighten the 8mm screw shaft to secure the joint.
- Final Check: Verify the alignment and strength of the assembled components.
With the Zipbolt UT Maxi-KD Connector, achieve robust and efficient assembly with a reliable demountable connector that enhances production efficiency and maintains high-quality results.