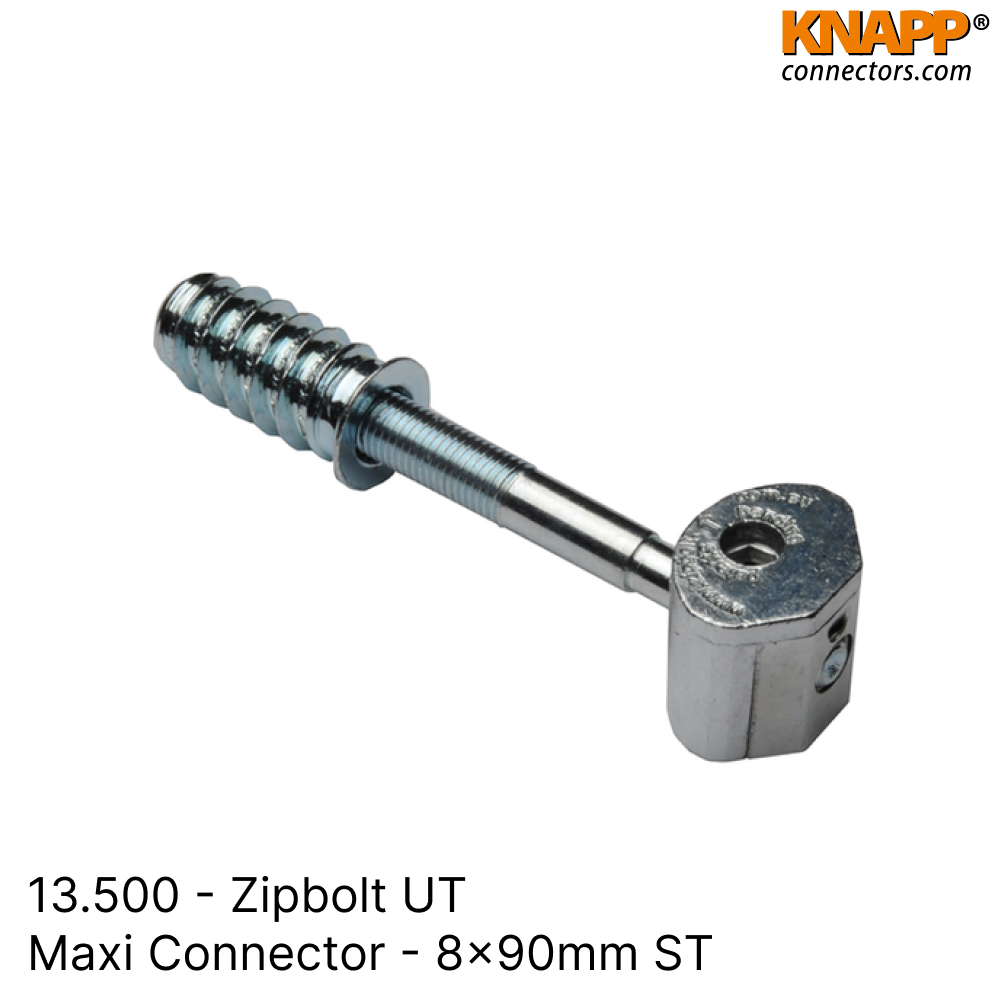
13.500 – Zipbolt UT Maxi Connector
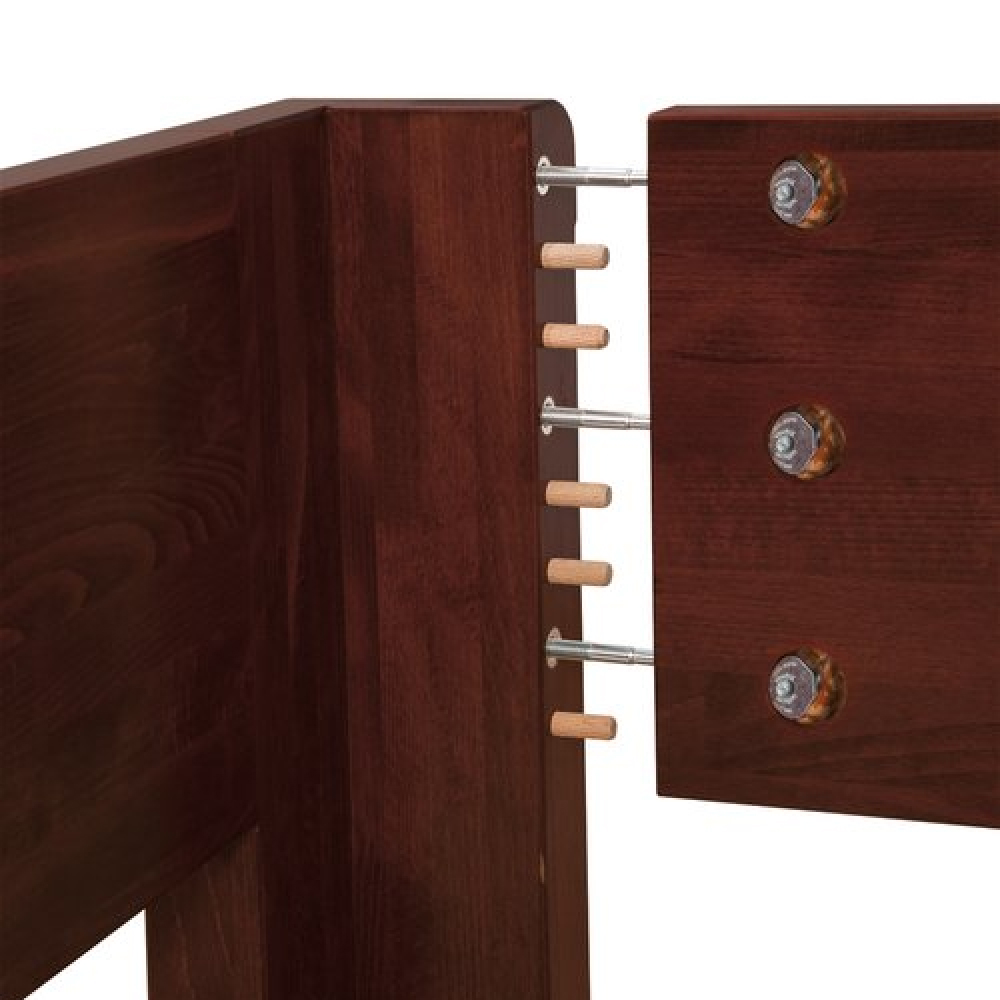
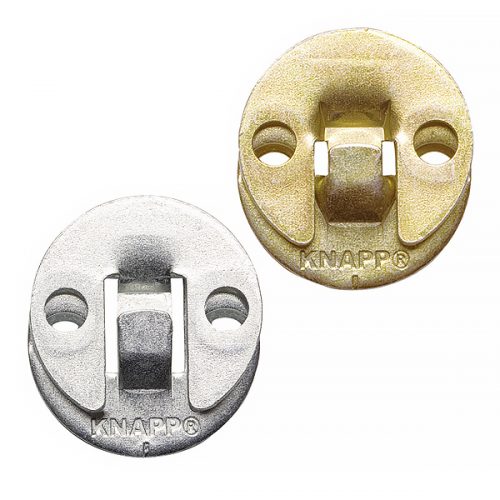
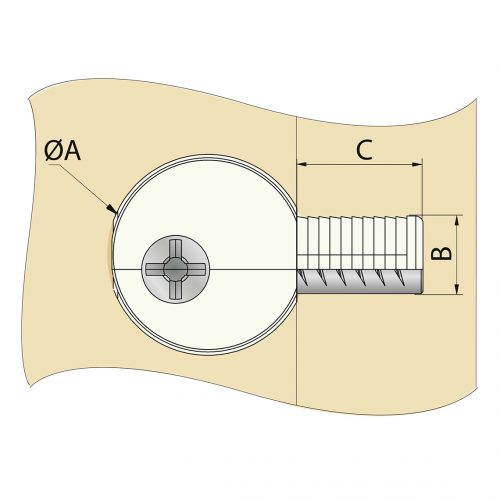
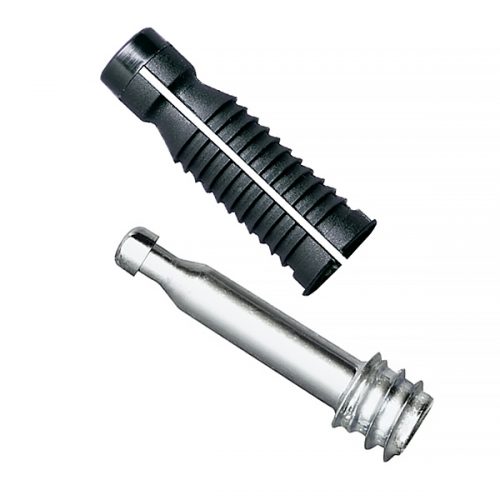
The 13.500 – Zipbolt UT Maxi Connector represents a significant advancement in connector design with its new die-cast “Open Channel” housing. This innovative feature simplifies the assembly process by allowing the housing to easily engage with the shaft and position itself correctly, even if the drilled hole is slightly too deep. This advancement ensures a secure and precise fit, enhancing overall joint stability.
Product Overview:
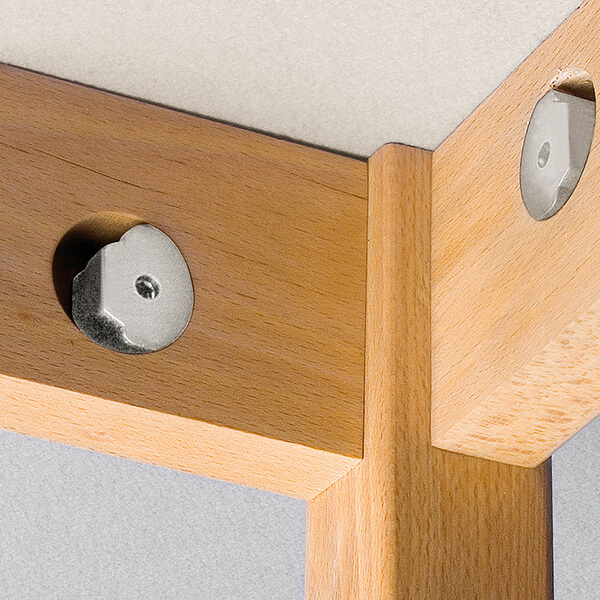
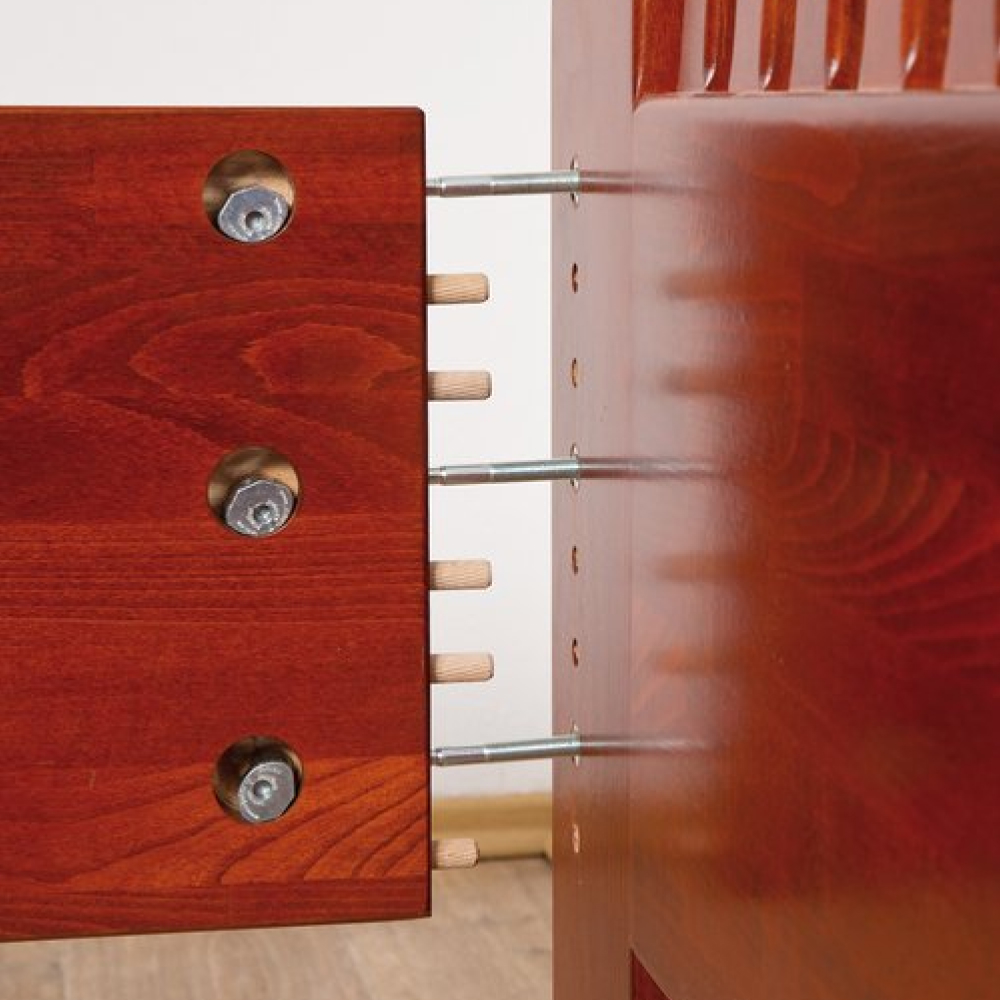
The ST Maxi Connector is equipped with a reduced housing size that can travel within a 25mm hole, enabling effective tightening of joints while the wood members are already connected. This design improvement minimizes the risk of misalignment and ensures that joints are securely fastened.
Design and Functionality:
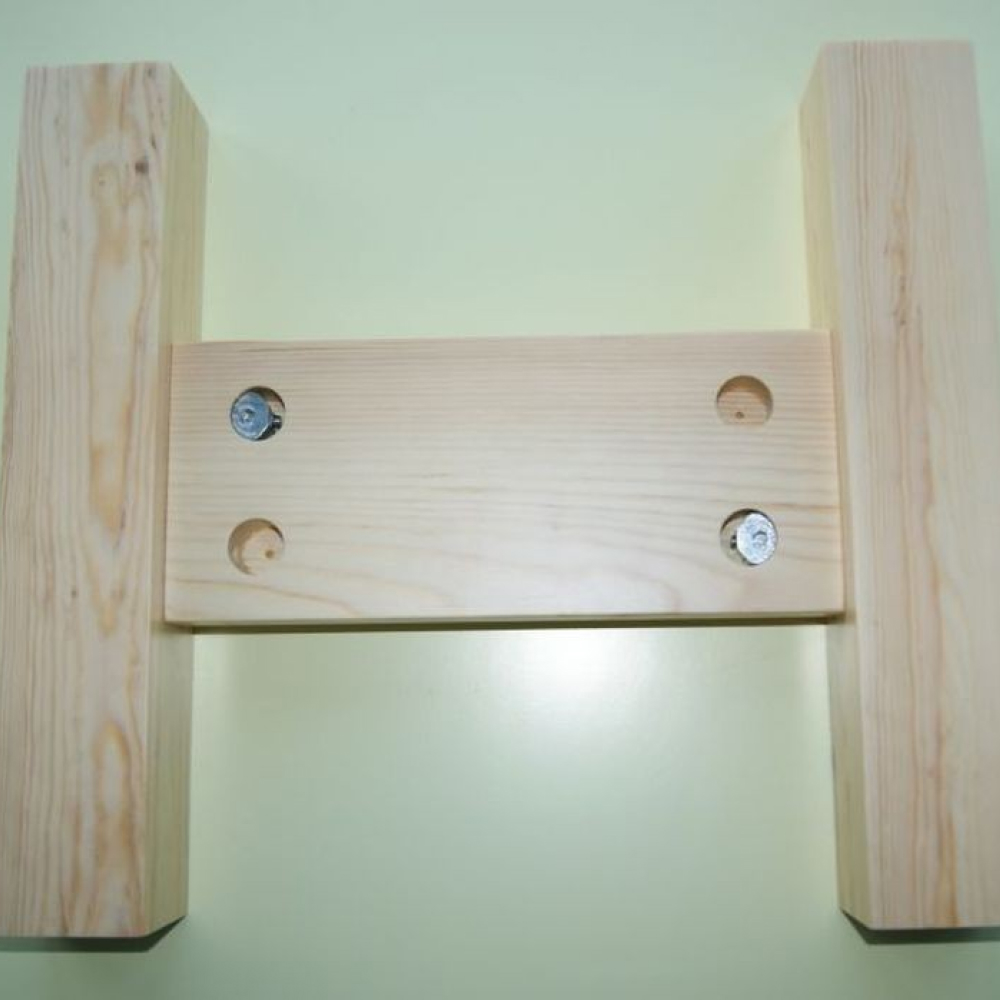
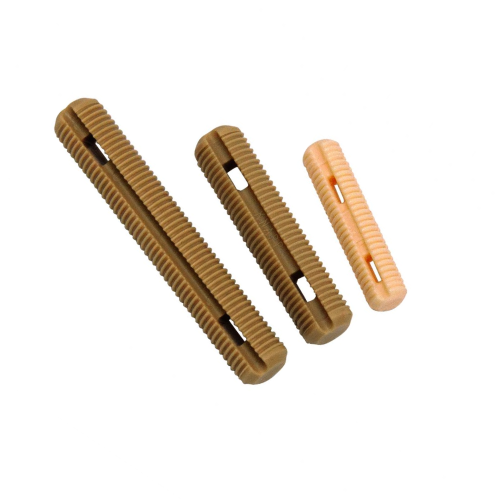
The Zipbolt UT Maxi Connector is engineered for use with dowels and liquid adhesives, allowing for the efficient assembly of legs, rails, and other furniture components in one step. This approach significantly reduces assembly time compared to traditional methods, which often require multiple days for adhesive bonding.
Key Benefits:
- Advanced Housing Design: The “Open Channel” die-cast housing simplifies placement and ensures accurate positioning, even in over-bored holes.
- Improved Joint Tightening: The reduced housing size allows it to travel within a 25mm hole, providing effective tightening while components are already joined.
- Enhanced Efficiency: Facilitates simultaneous assembly of multiple components, reducing overall production time and increasing efficiency.
Applications:
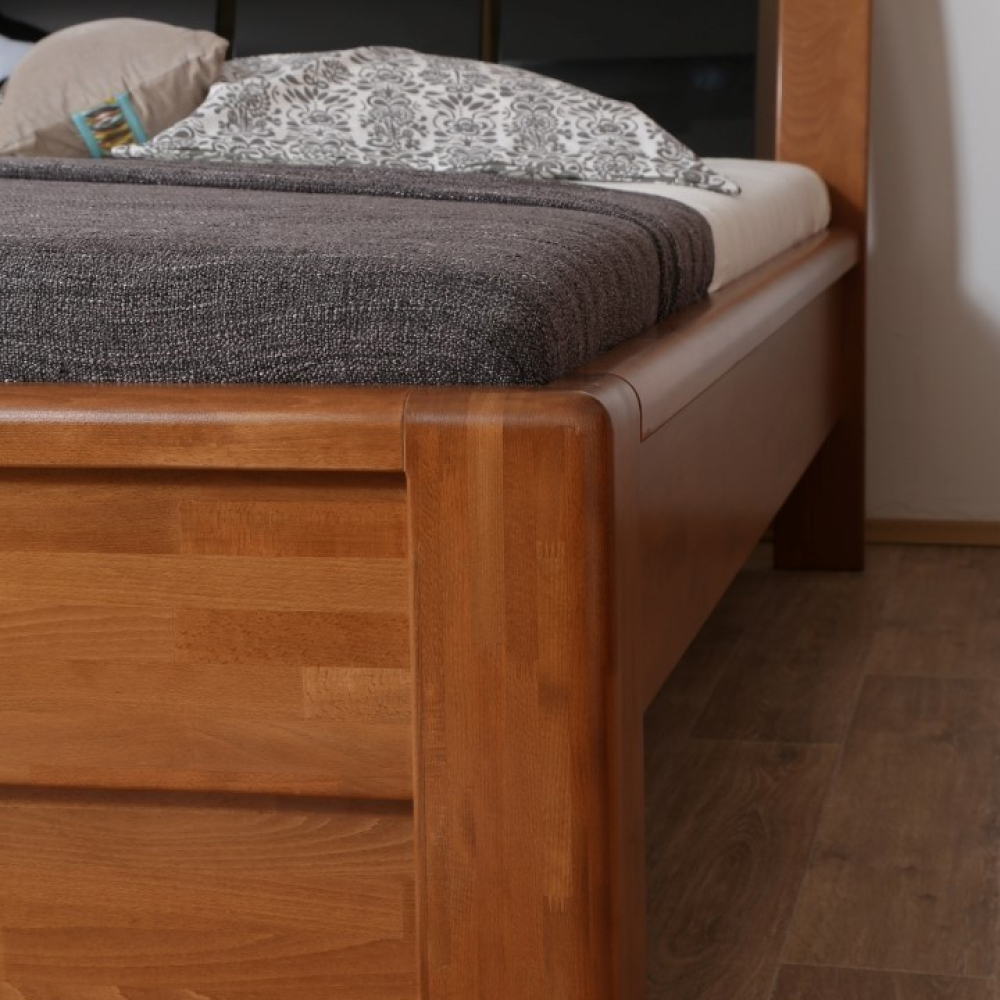
The Zipbolt UT Maxi Connector is ideal for various joinery and furniture assembly tasks where a reliable and efficient connector is required. It is particularly useful for projects involving legs, rails, and other components that benefit from quick and stable assembly.
Installation Instructions:
- Prepare the Components: Ensure that the components are properly aligned and ready for assembly.
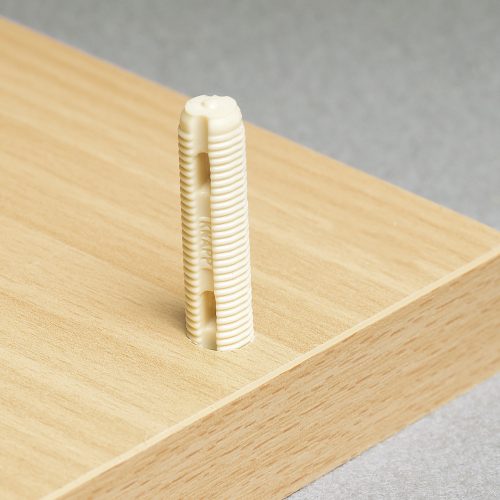
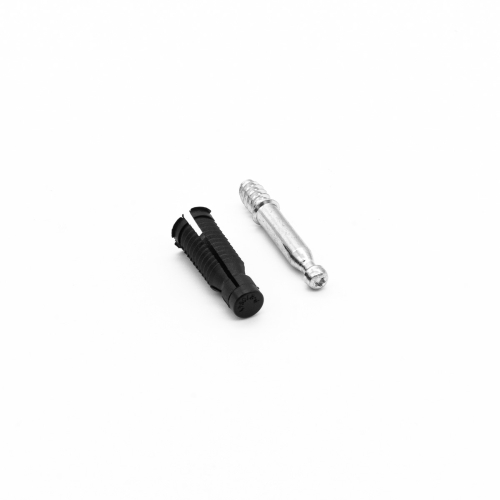
- Insert the Shaft: Place the 8mm shaft into the prepared hole.
- Position the Housing: Utilize the “Open Channel” design to position the die-cast housing correctly over the shaft, even if the hole is slightly too deep.
- Secure the Joint: Tighten the housing to secure the joint, ensuring the components are firmly connected.
- Final Check: Verify the alignment and stability of the assembled components.
With the Zipbolt UT Maxi Connector, achieve precision and efficiency in your assembly projects with a design that simplifies placement and enhances joint stability.