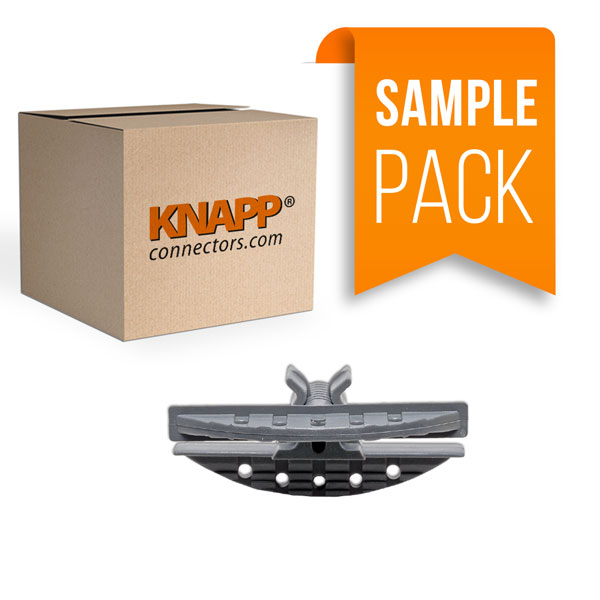
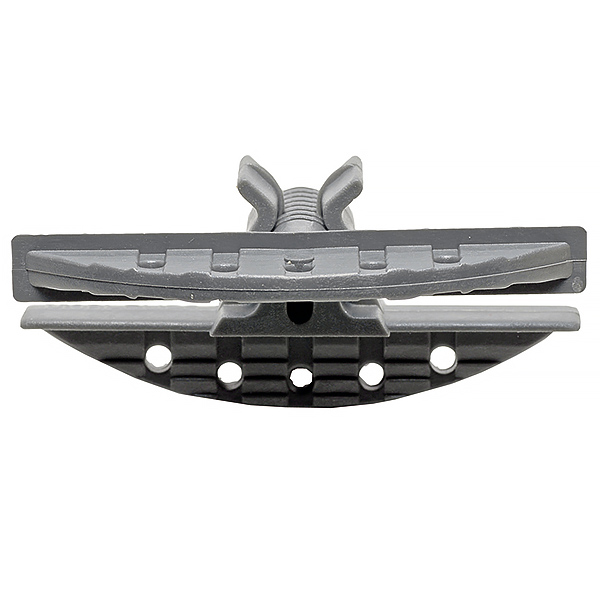
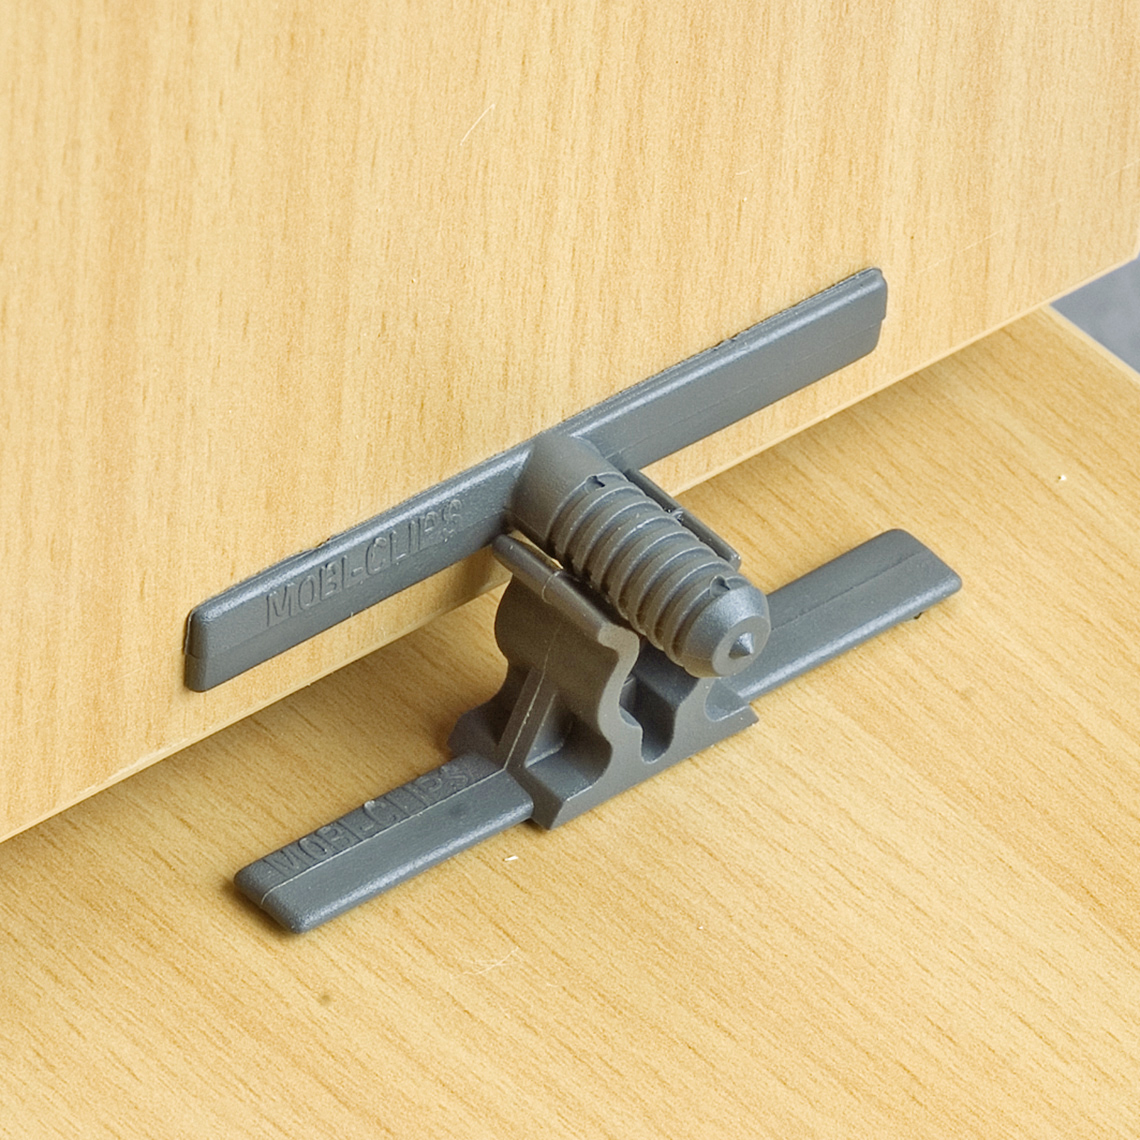
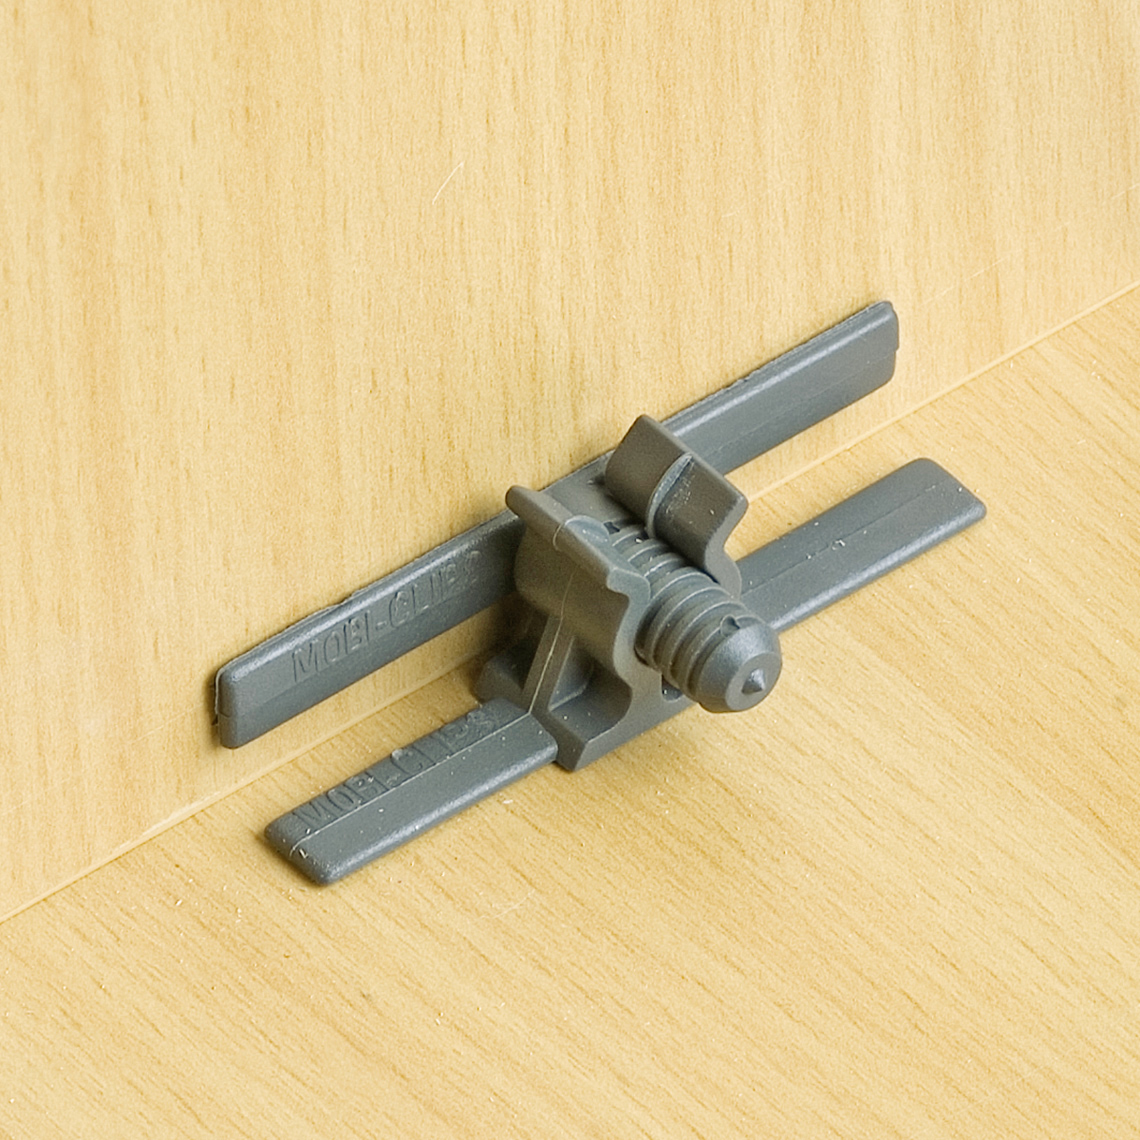
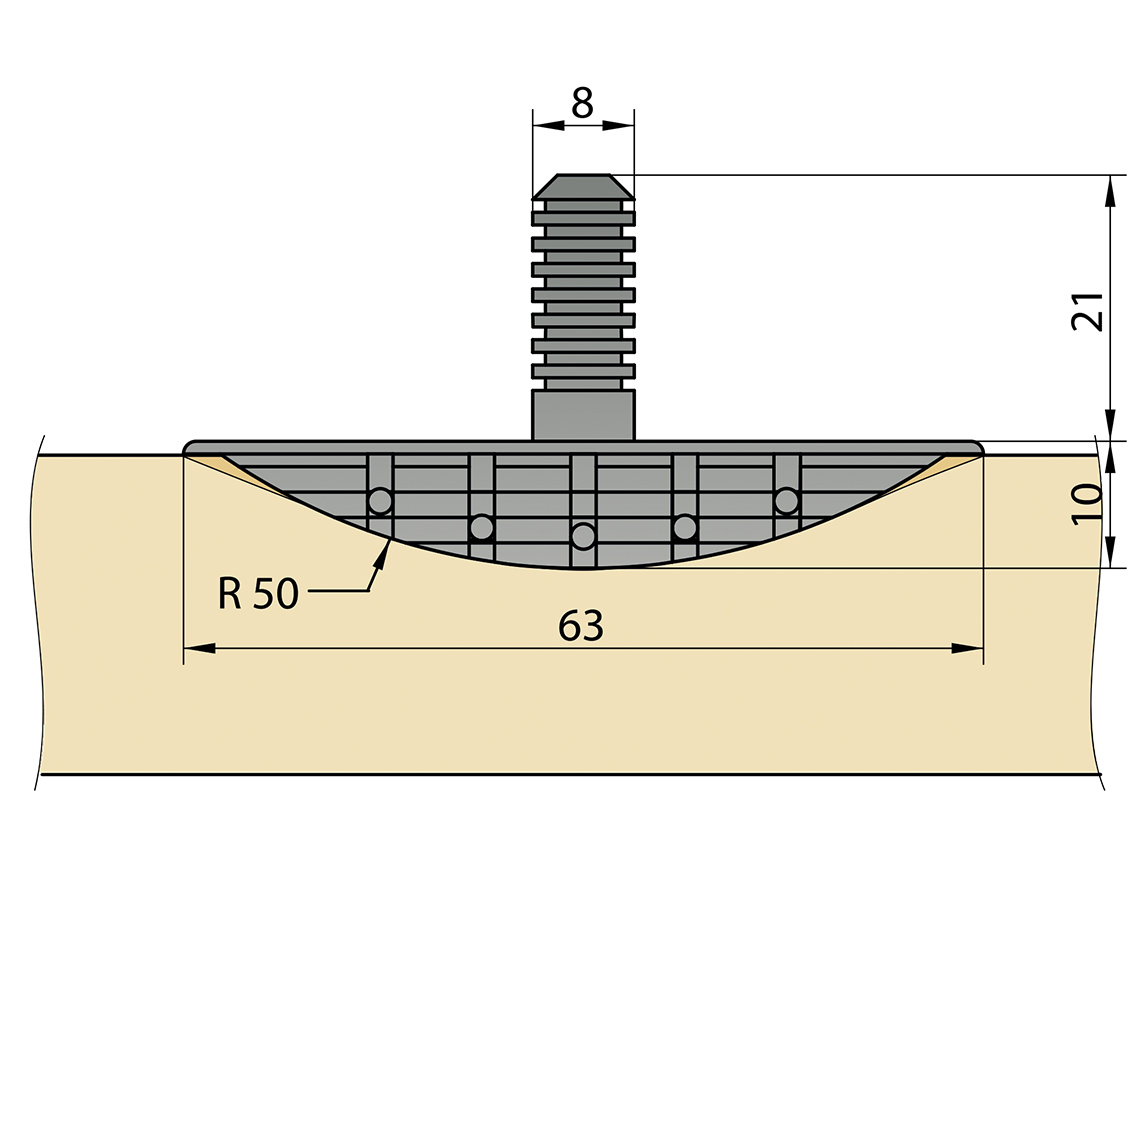
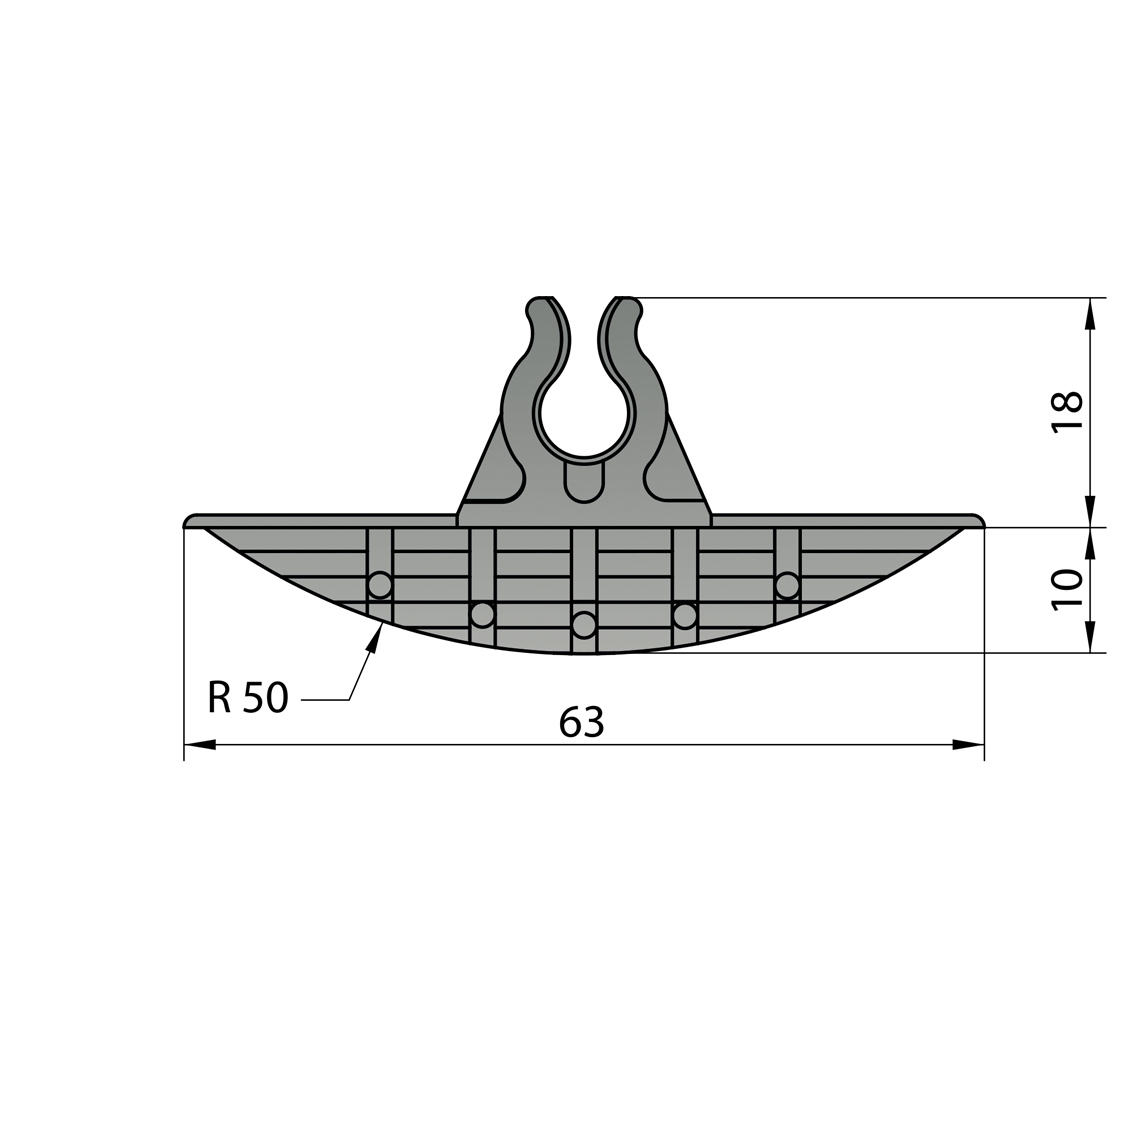
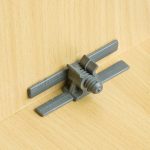
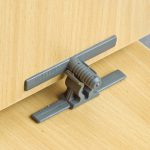
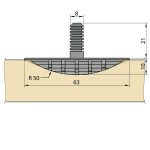
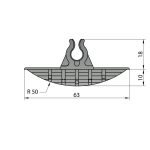
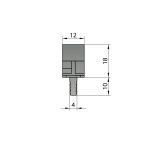
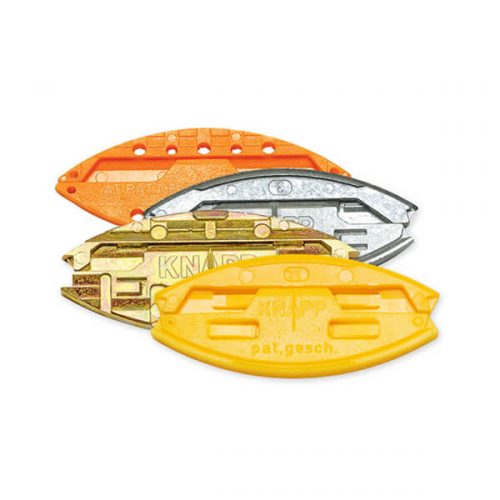
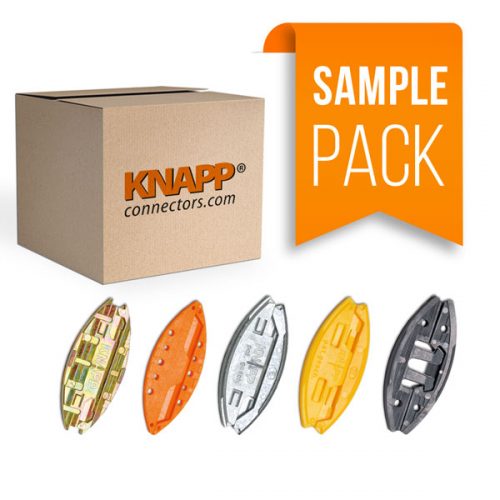
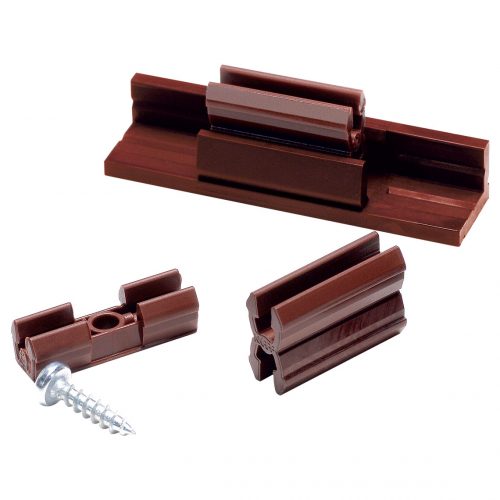
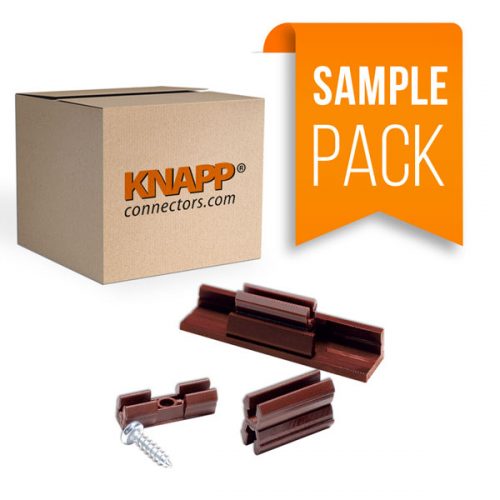
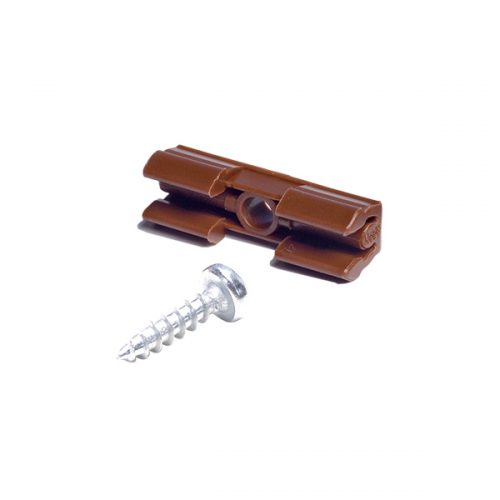
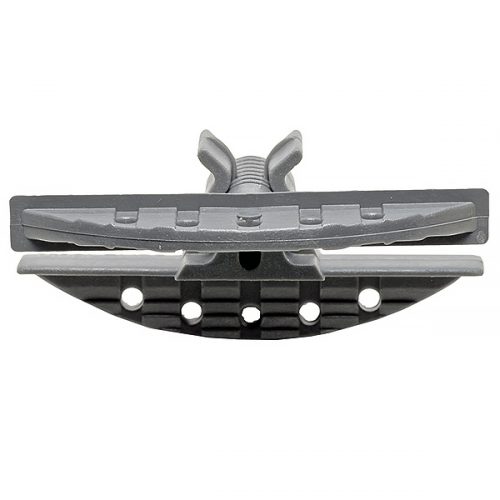
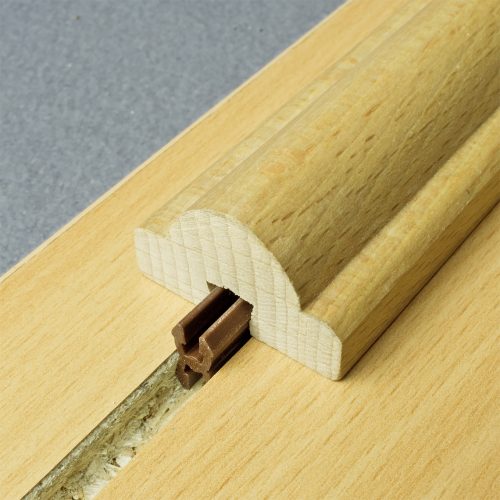
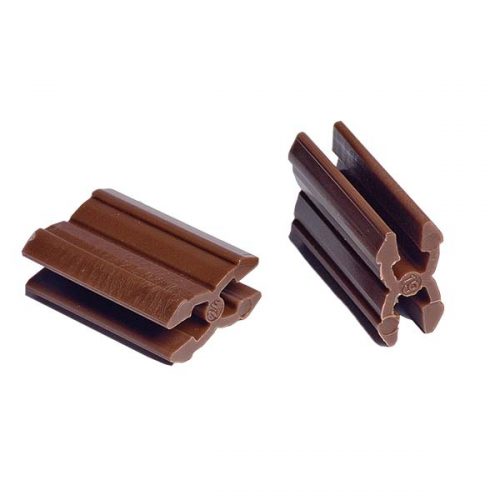
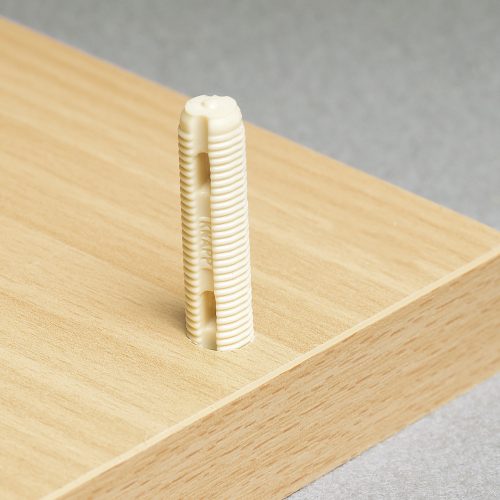
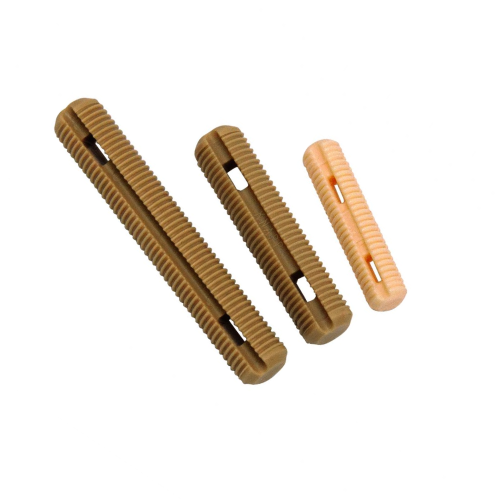
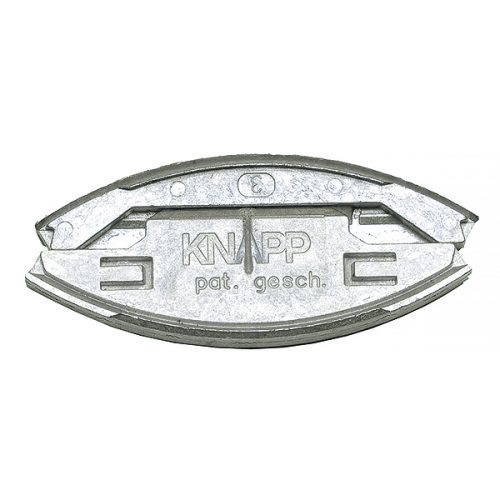
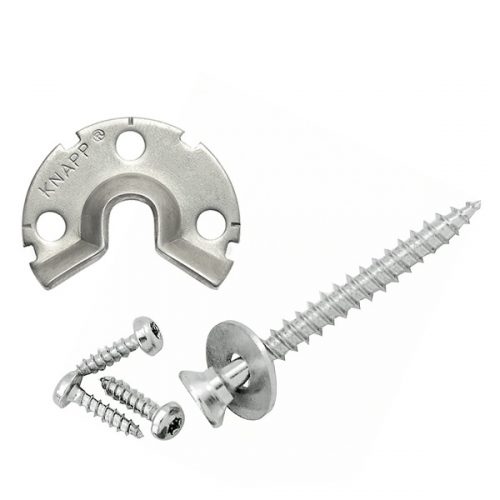
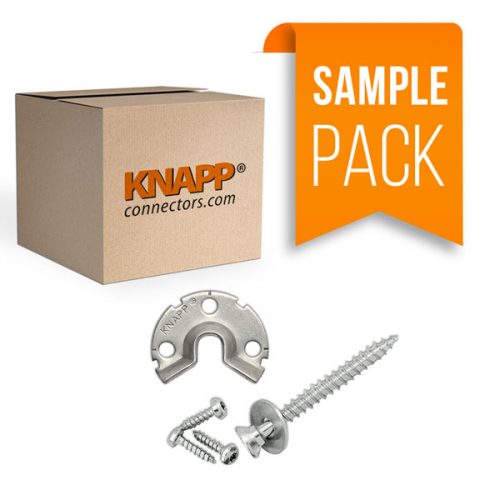
The CLIPS Biscuit Connector Sample Pack contains 6 pairs. CLIPS is a #20 two-piece snap-in plastic connector and can be glued in all wood materials. The ribbed pin is simply snapped into the fork.
CLIPS Biscuit Connector – Sample Pack
$10.00
In stock
In stock
For bulk orders, please reach out to us for tailored lead times and shipping options.
Description
CLIPS Biscuit Connector – Sample Pack
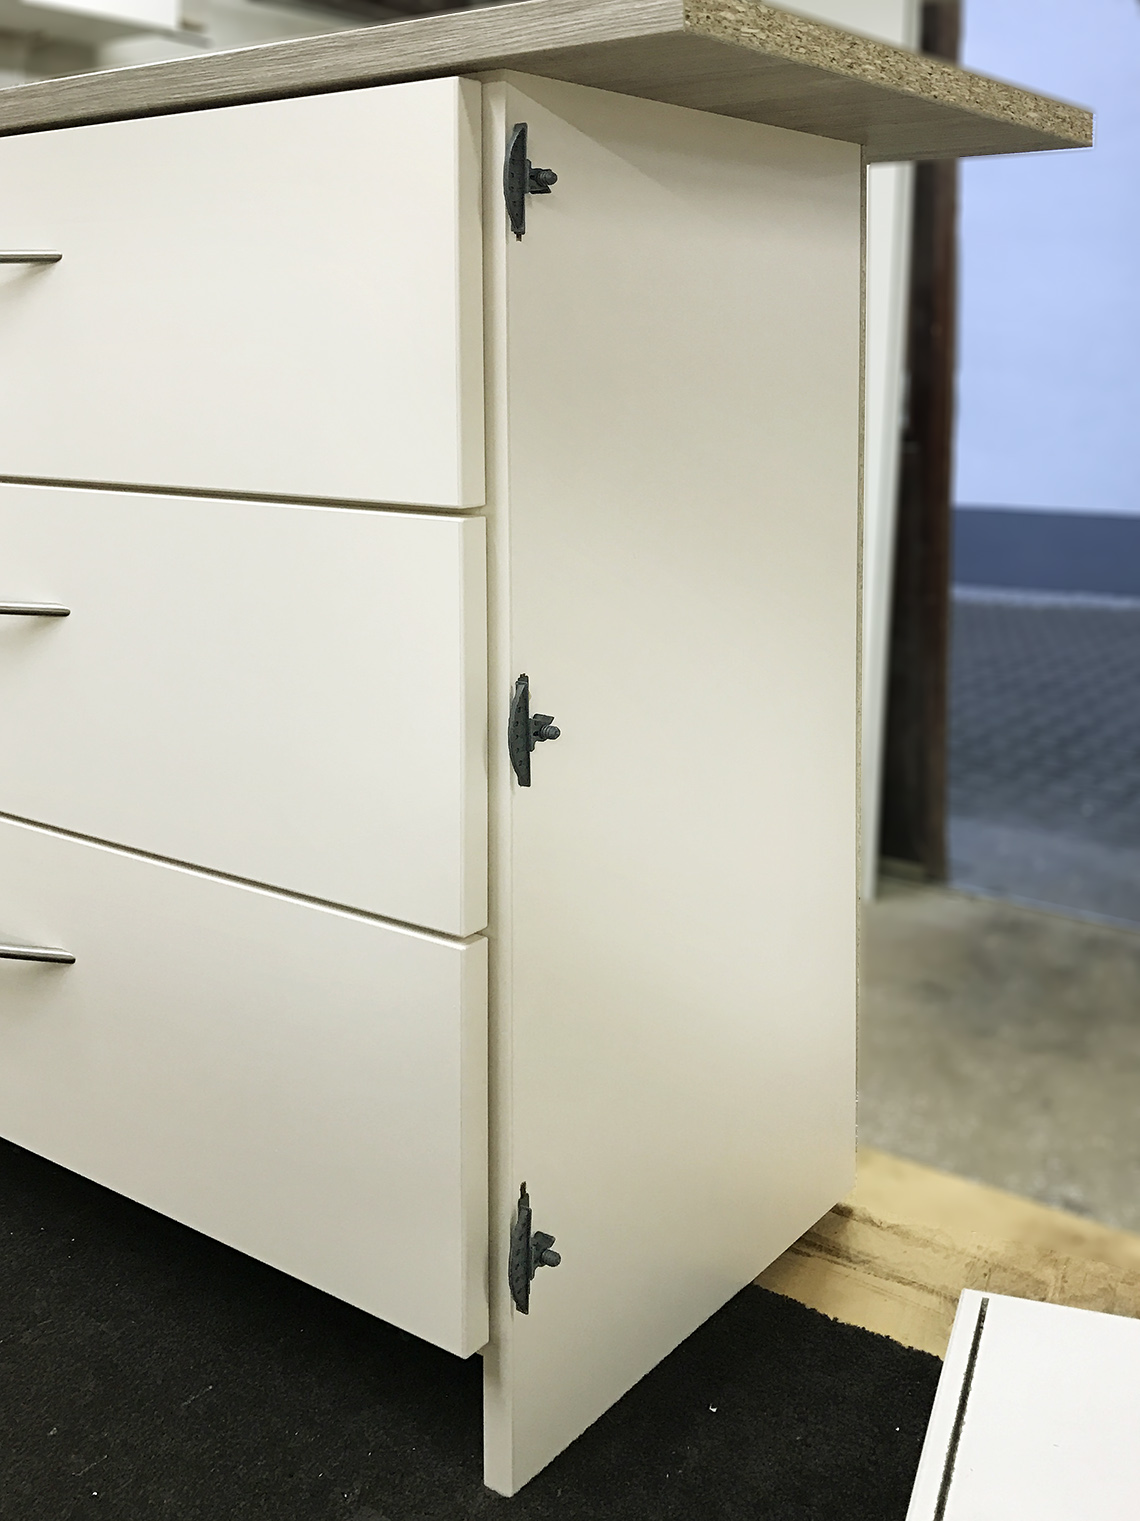
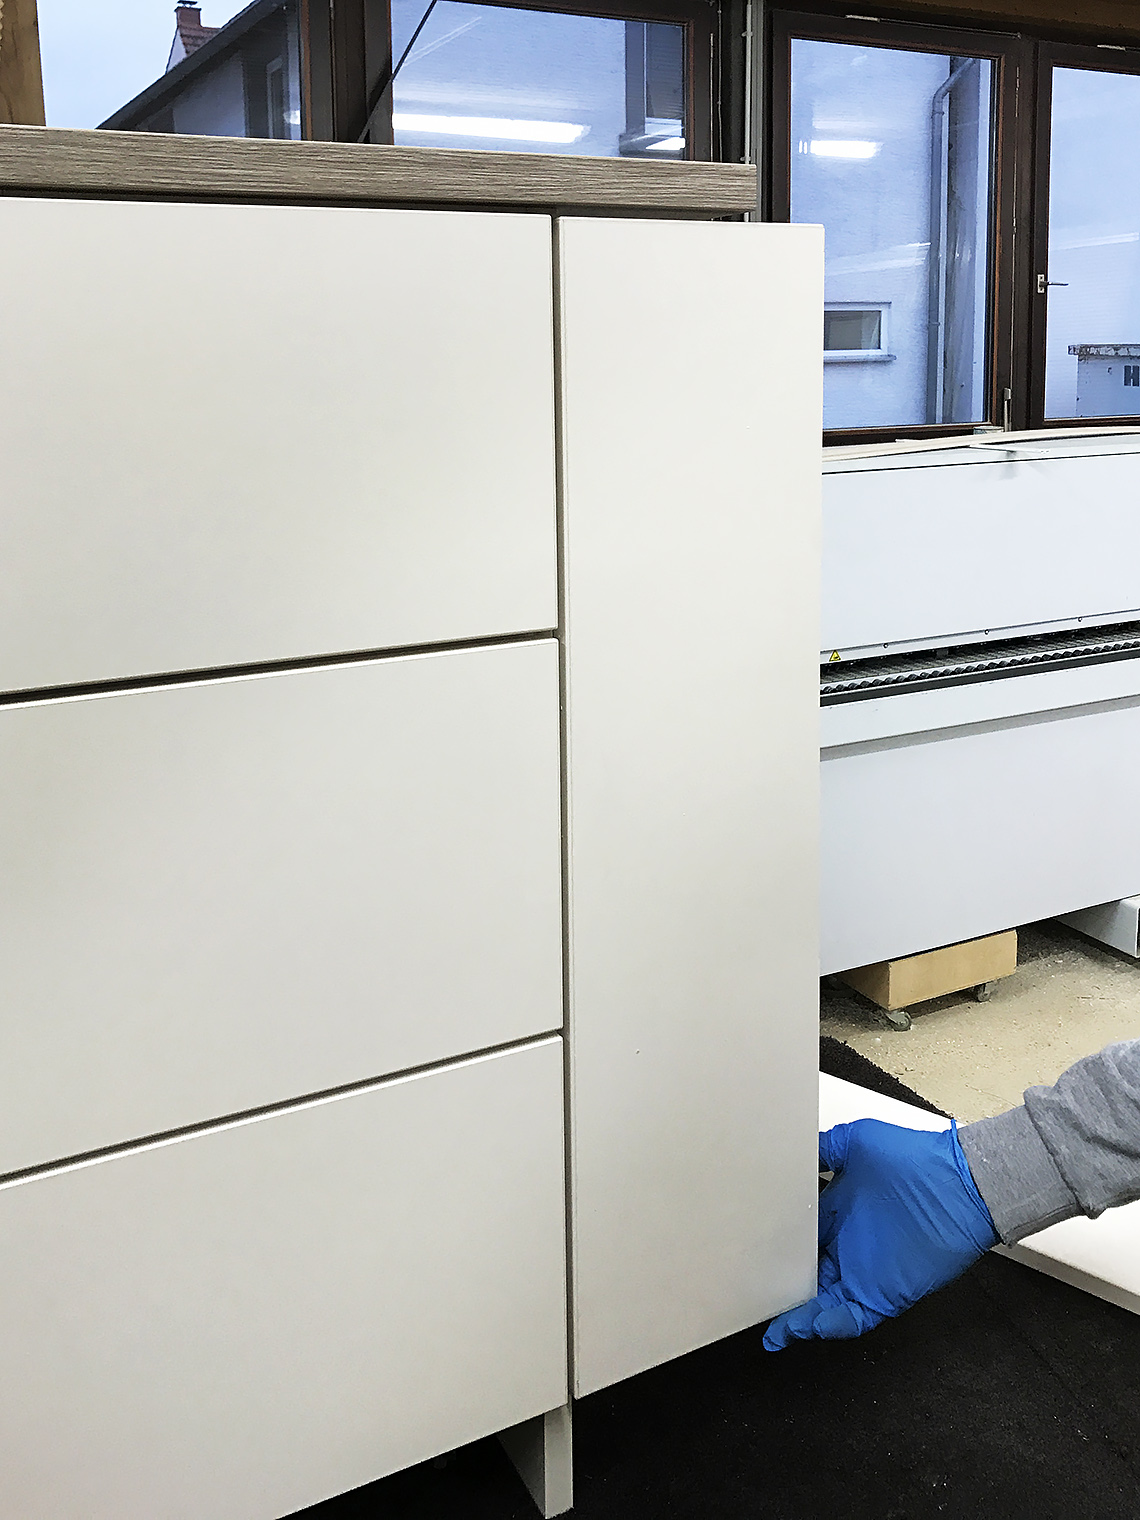
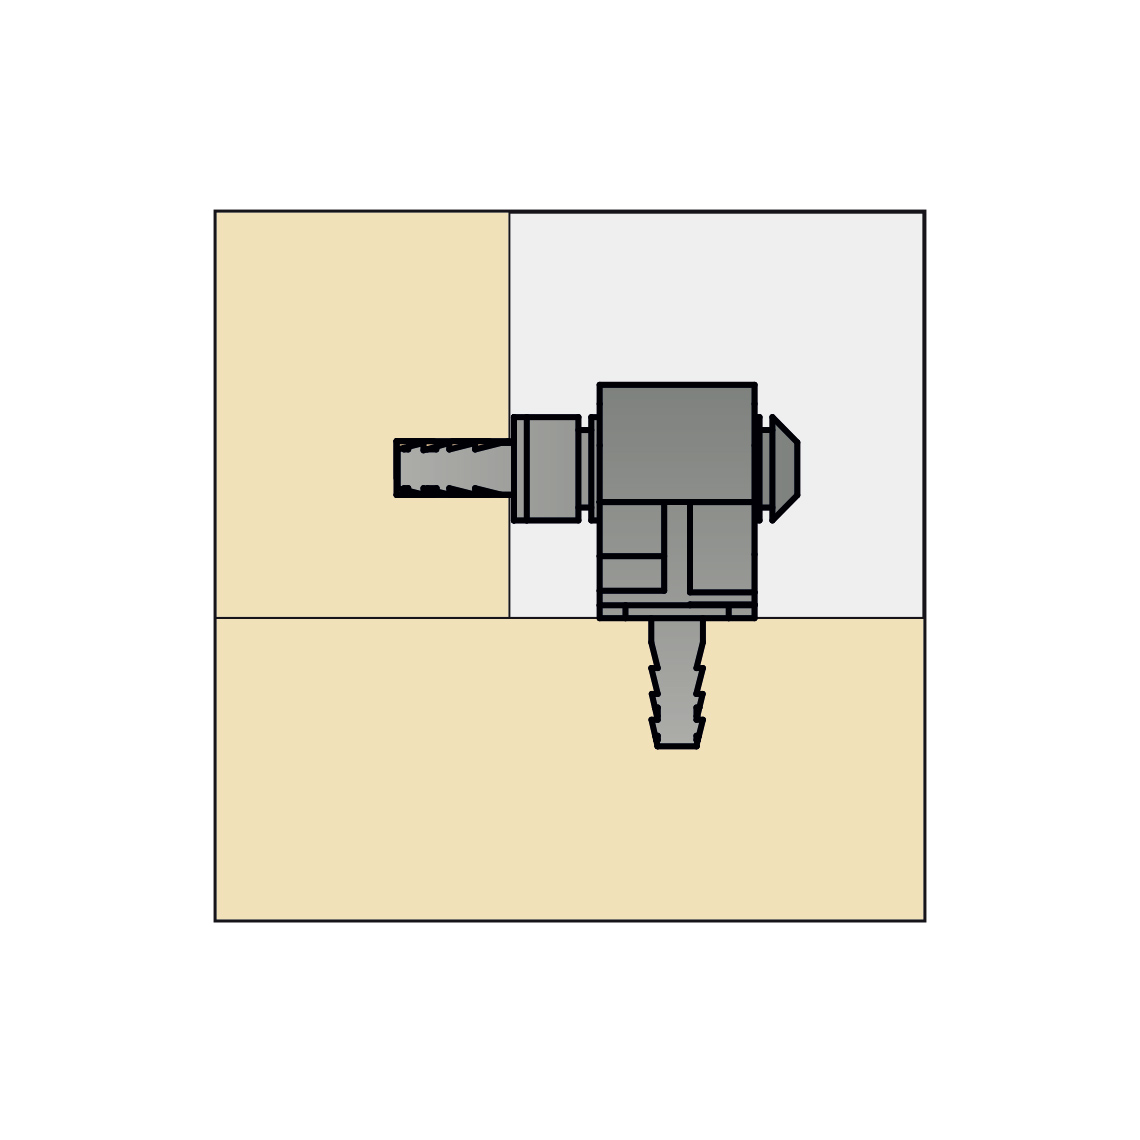
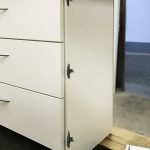
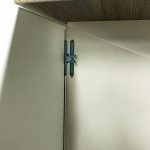
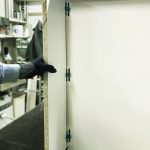
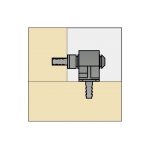
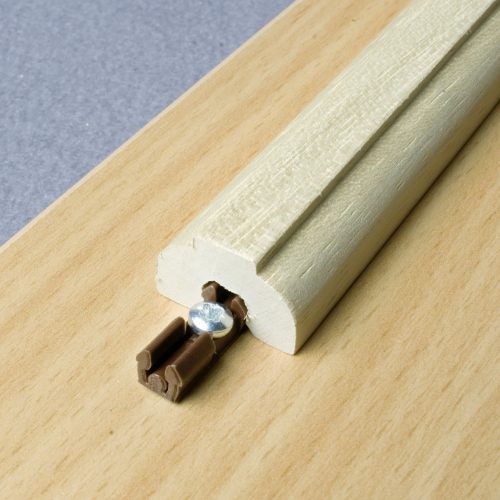
The CLIPS biscuit is a #20 two-piece snap-in plastic connector and can be glued in all wood materials. The ribbed pin is simply snapped into the fork. The ribs in the pin enable the position of a part to be adjusted; it can also be rotated 360° around the axis of the pin. This allows for a wide range of applications: from louvered vents to access panels, which can simply be snapped-in as well as serves simultaneously as a connector and hinge.
Features and Benefits:
- Fast assembly
- snaps straight in and is used where design or space conditions do not allow the usual sliding connection
- Reduces labor and equipment cost
- Hidden connector
- Appeals to the architect and customer
- Hinge function
- The CLIPS also functions as a hinge and that way opens up applications such as access panels or louvered vents
Tips:
- Widely used in RTA and KD furniture
- Used with all wood and board materials
- Recommended glue → KNAPP®-Adhesive PU+ (Z011/1)
Applications:
- Case Goods
- Architectural Millwork
- Shopfitting
- Furniture
- False fronts
Plastic – PA6, grey
None
Snap-in connector
Glue in with KNAPP-Adhesive PU+
Concealed, self-tightening, demountable connector, adjustable (gap or rabbet)
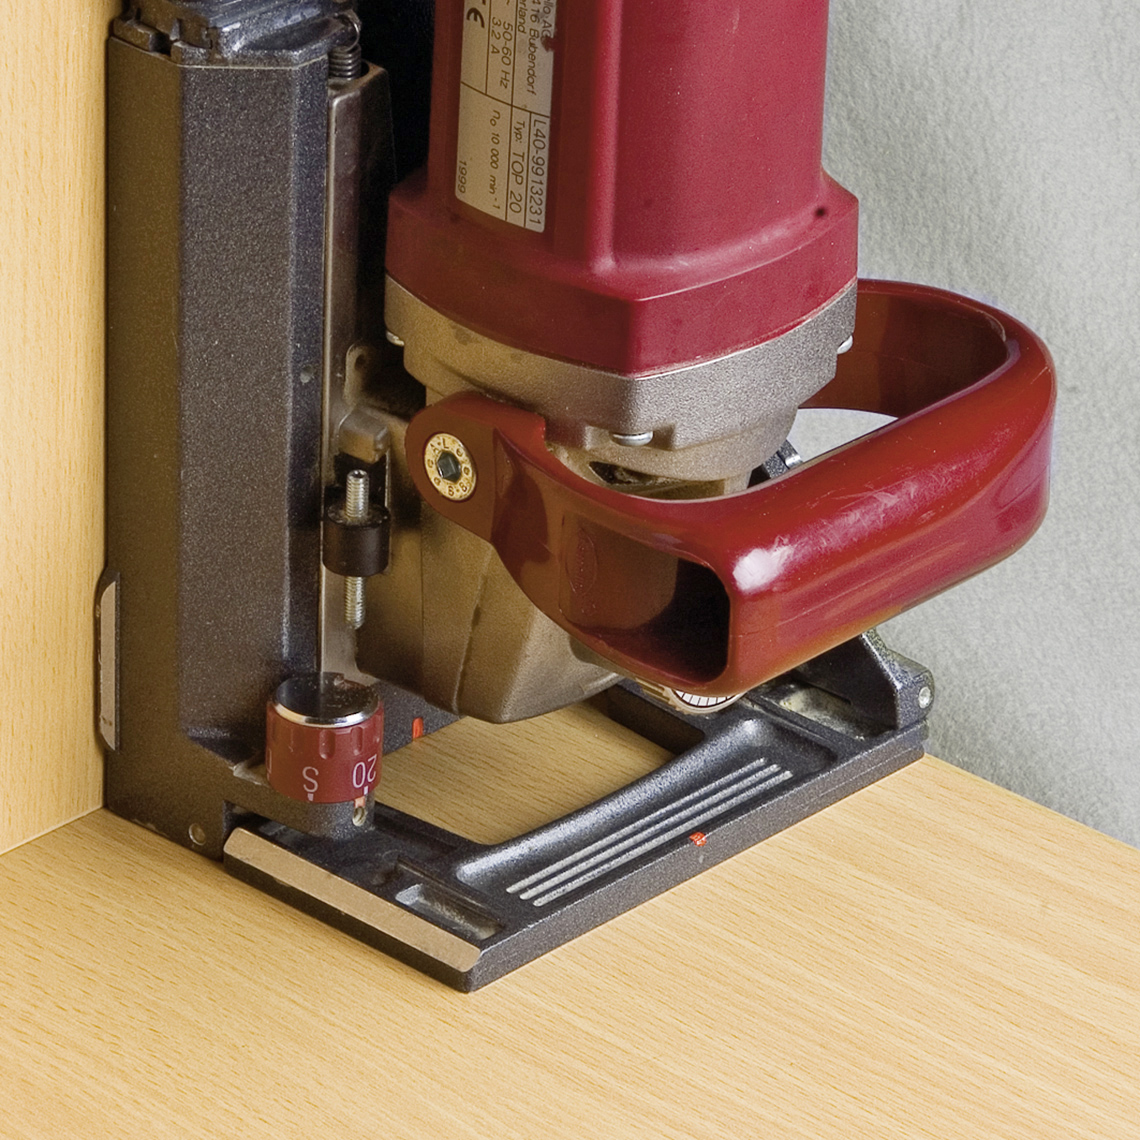
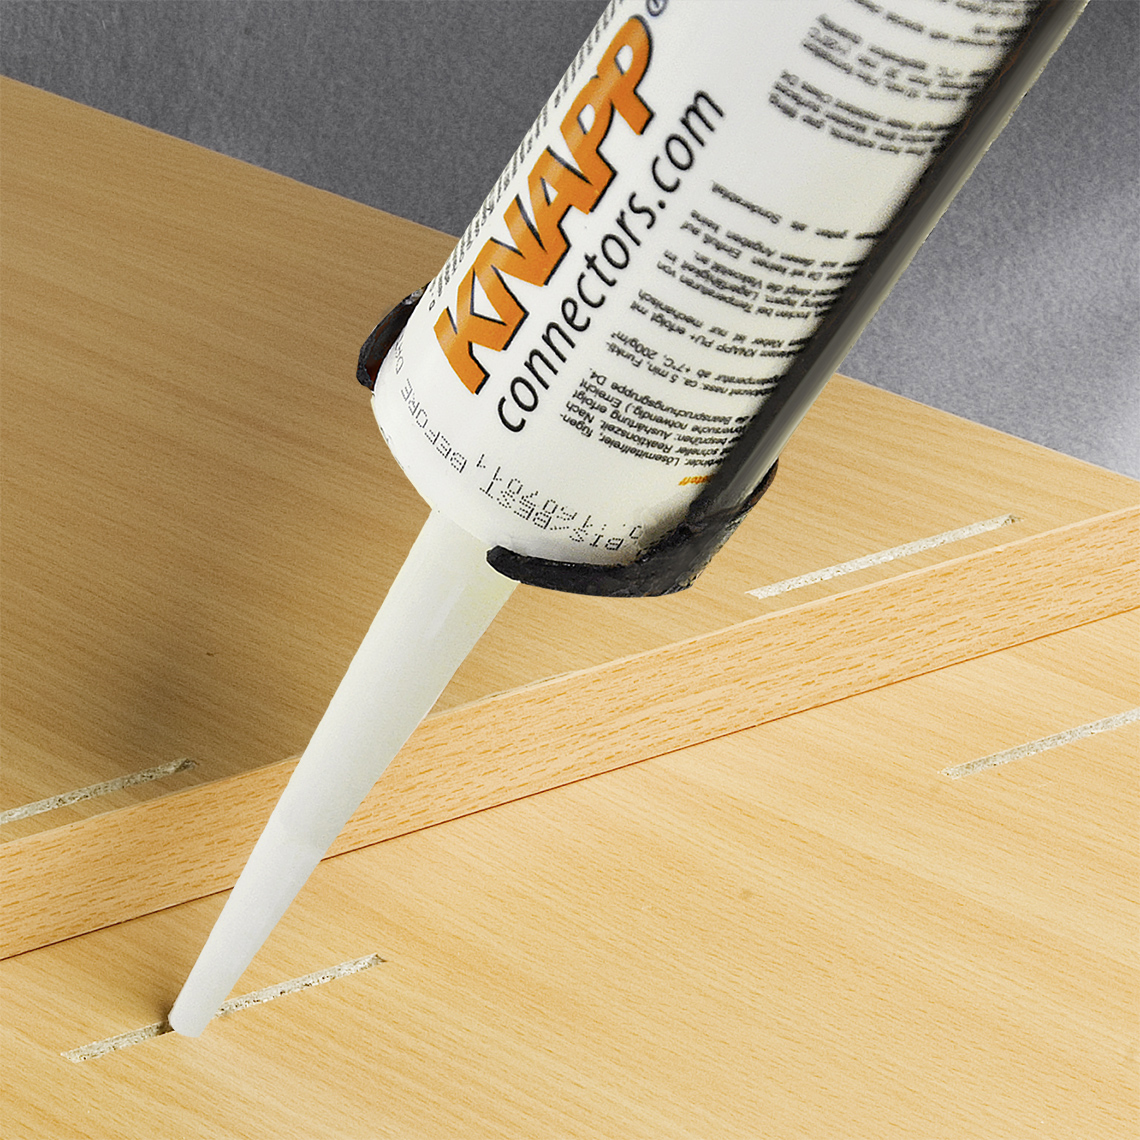
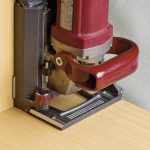
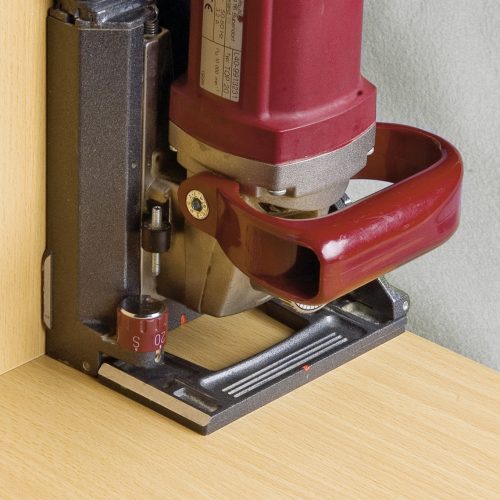
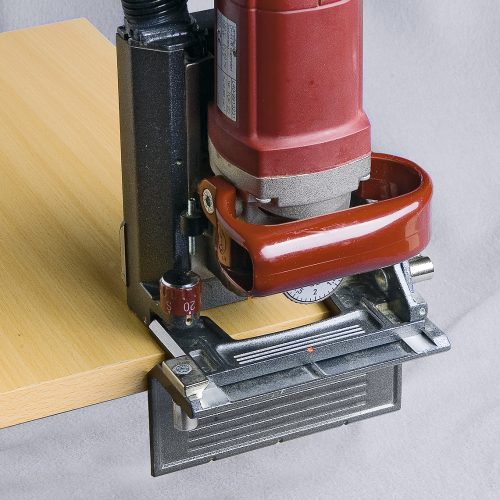
Cutting a #20 slot with a biscuit joiner. Add KNAPP-Adhesive PU+ and insert the connector.
All wood and board materials
Furniture, architectural millwork, shopfitting, miter joints, and curves without using clamps or fixing devices
Applications
Videos
Installation
(View and Download Instruction Manual)
Steps:
- Make biscuit slot with biscuit joiner or CNC
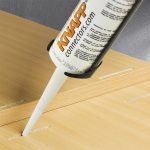
- Add approx. 1/2" bead of KNAPP®-Adhesive PU+ (Z011/1) in the middle and deepest point of the slot.
- Press in the direction of the slot.
- Wait until cured
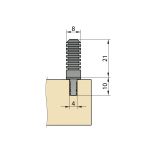
- To assemble the parts, snap-in the ribbed pin into the fork.
Tips:
- By inserting the fork part on the various ribs of the pin, the position of the parts can be varied in 2 mm steps (in the case of the second groove from below-three steps upwards and one step downwards). The fork part can be rotated 360° around the pin axis (hinging effect).
You must be logged in to post a review.



Reviews
There are no reviews yet.