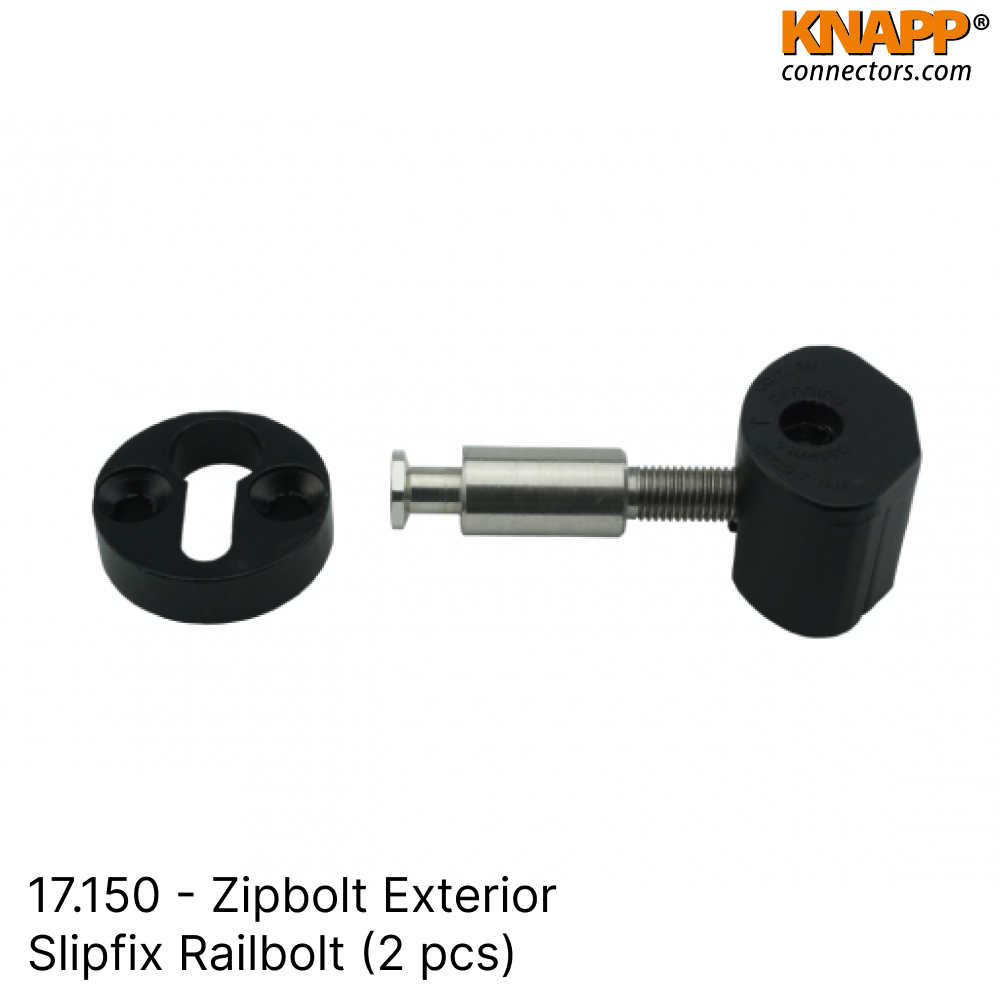
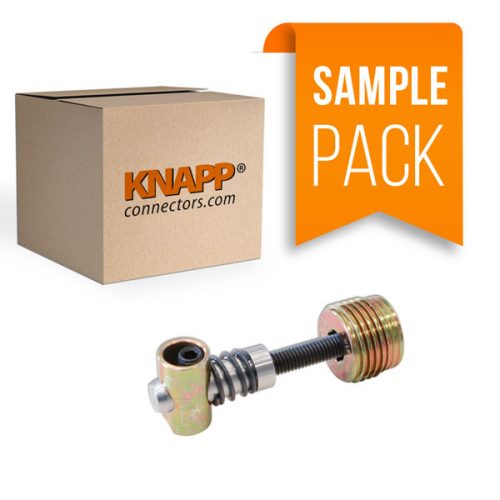
17.150 – Zipbolt Exterior Slipfix Railbolt
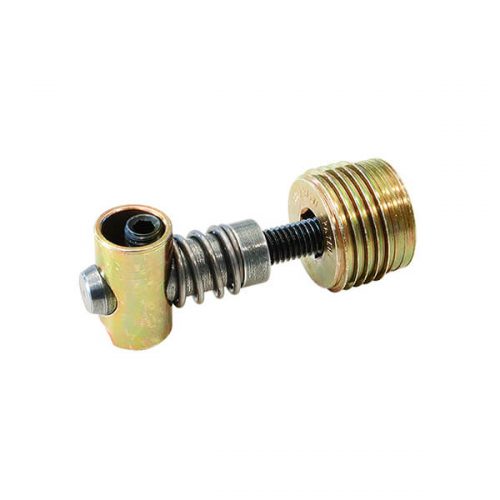
The 17.150 – Zipbolt Exterior Slipfix Railbolt is a pioneering connector engineered specifically for outdoor use, combining advanced materials and rigorous testing to ensure long-lasting performance and reliability. This model represents a significant advancement in outdoor connector technology, offering a solution that meets the demands of external applications.
Product Overview:
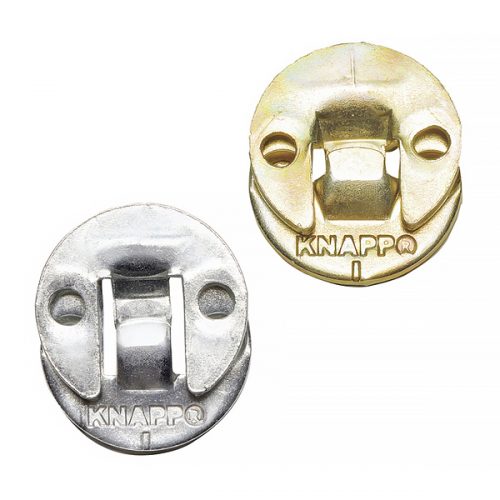
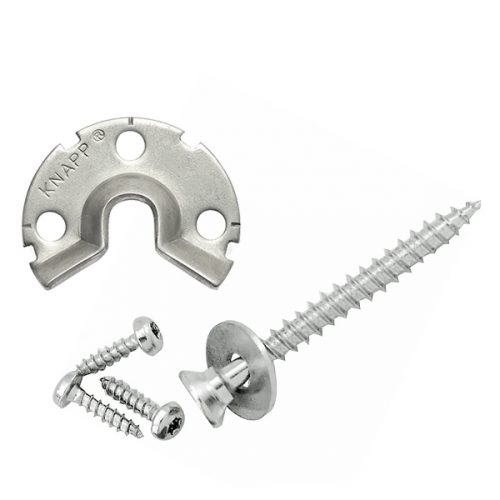
The Zipbolt Exterior Slipfix Railbolt is constructed from a blend of stainless steel and epoxy-coated parts. While stainless steel provides strength and resistance to corrosion, the epoxy coating is applied where stainless steel cannot be used, ensuring that the connector remains durable and effective in various environmental conditions.
Design and Functionality:
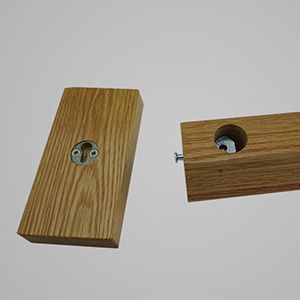
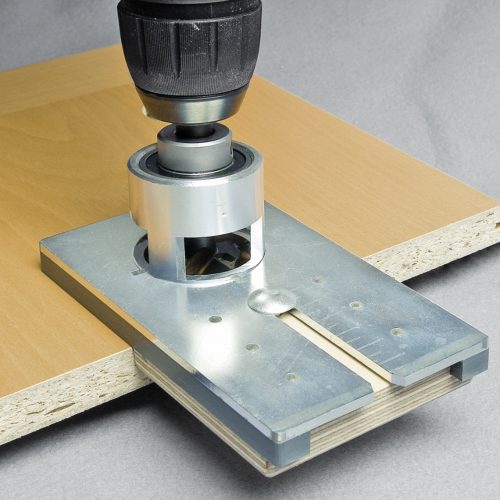
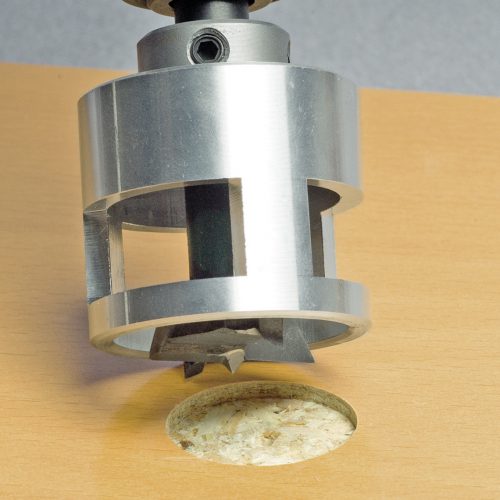
This connector has undergone comprehensive testing, including a 1,000-hour corrosion test and a 1,500-hour salt spray test, to ensure its durability and performance in challenging outdoor environments. It is designed for applications where a rail is fitted between fixed posts or other post fixing scenarios, offering a robust and secure solution.
Key Benefits:
- Durable Construction: Features a combination of stainless steel and epoxy-coated parts for optimal performance in outdoor settings.
- Extensive Testing: Successfully tested for 1,000 hours of corrosion and 1,500 hours of salt spray resistance.
- Versatile Use: Suitable for various applications where a rail needs to be securely fixed between posts.
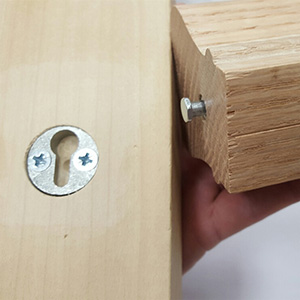
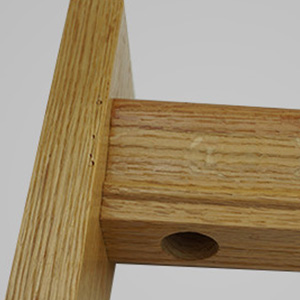
- Strong and Discreet: Provides a durable, nearly invisible joint, maintaining a clean and professional appearance.
Applications:
The Zipbolt Exterior Slipfix Railbolt is perfect for outdoor installations where strength and durability are crucial. It is ideal for securing rails between fixed posts or any other application requiring a robust and weather-resistant connector.
Installation Instructions:
- Prepare the Components: Ensure that the rail and posts are properly aligned and ready for assembly.
- Install the Connector: Place the Slipfix connector into position between the fixed posts or relevant post fixing areas.
- Secure the Joint: Follow the provided instructions for tightening and securing the connector, ensuring a strong and stable connection.
- Final Check: Confirm that the rail is securely fixed and that the joint is properly aligned and invisible.
With the Zipbolt Exterior Slipfix Railbolt, achieve a reliable and aesthetically pleasing connection for outdoor applications, backed by rigorous testing and advanced materials.